
In our previous post, we have successfully created a Bitcoin full node by using BizCloud cloud. In this post, we are going to add extra functionality to the Bitcoin node, and setting up Lightning Network capability. This post is the continuation of previous post, hence you must refer to How To Install Bitcoin Full Node Using BizCloud. Once your setup following the article is completed and your Bitcoin full node is fully synced, you can continue with this tutorial.
What Is Lightning Network?
Before we go deeper in installing and setup the Lightning Network node, I will expound a bit on the Lightning Network. In summary, Lightning Network is the second layer protocol, sitting on top of Bitcoin blockchain.
By using Lightning Network, the users are able to open payment channels between two parties and hence able to receive and send Bitcoin through that channel, which do not require the transaction to be written on top of Bitcoin blockchain main layer for every transaction. The transaction are written on top of Bitcoin blockchain only when the channels are opened and closed.
There are 3 main implementation of Lightning Network, but in this article I will be using lnd (which is short for lightning network node).
Step 1 — Login into your BizCloud cloud using your SSH applications, which is by using the provided IP adress.
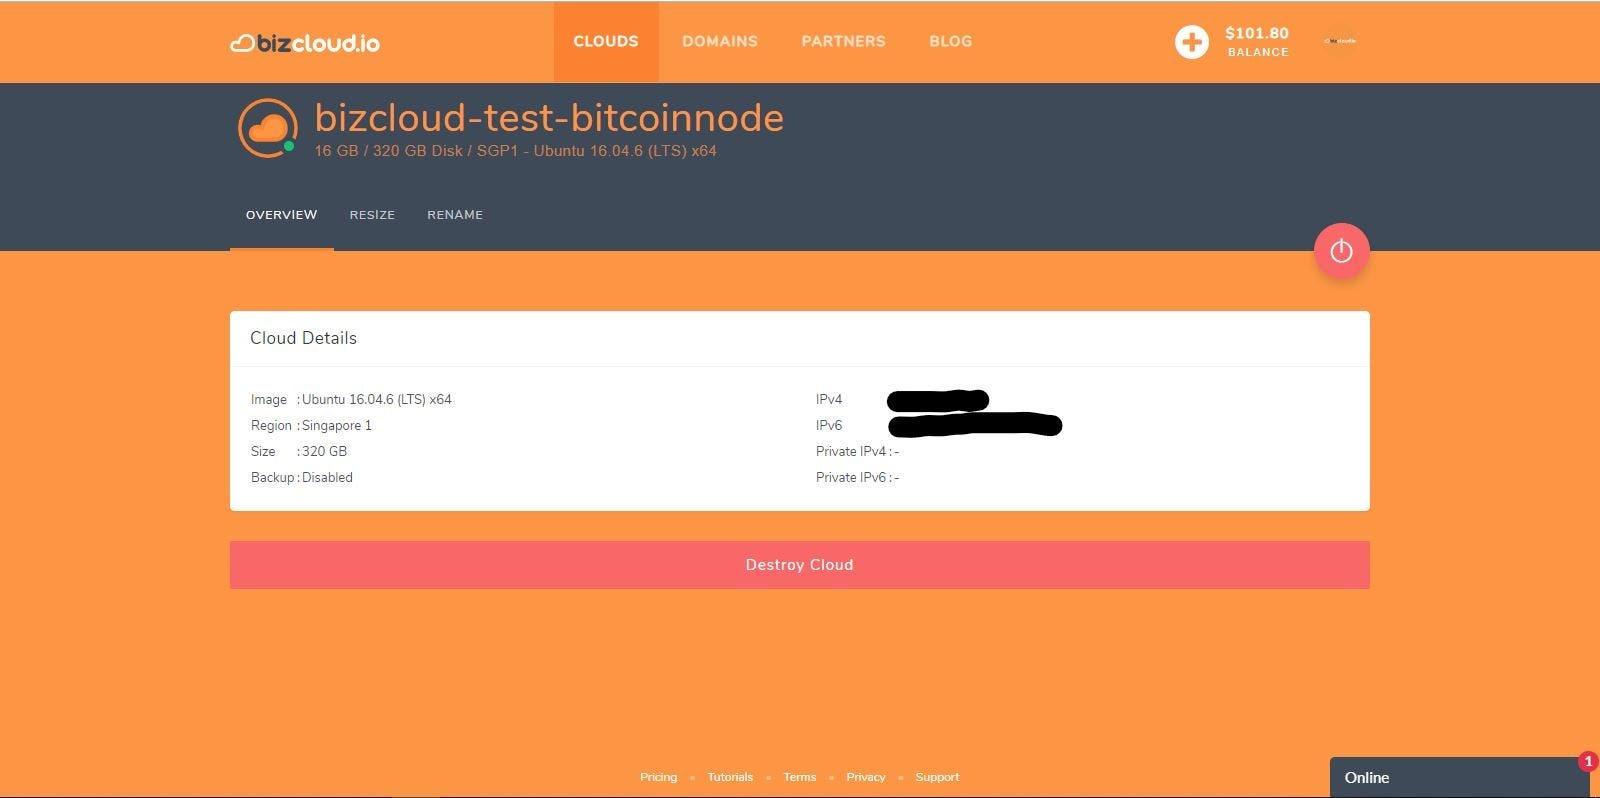
Fig 1. The cloud details provided once you create cloud using BizCloud
Step 2 — As lnd is using Go Language, there are some dependencies that need to be done before we install the lnd. Run the following command to download and install Go language.
wget https://dl.google.com/go/go1.13.linux-amd64.tar.gz
sha256sum go1.13.linux-amd64.tar.gz | awk -F " " '{ print $1 }'
Once the command completed, make sure the final output of the command above is 931906d67cae1222f501e7be26e0ee73ba89420be0c4591925901cb9a4e156f0. If it is different, the source code has been modified.
If it matches, you can proceed to install Go by issuing this command:
tar -C /usr/local -xzf go1.13.linux-armv6l.tar.gz
export PATH=$PATH:/usr/local/go/bin
We also need to set environment variable for the installation of Go language. Issue the following command to complete the environment variable setup:
export GOPATH=~/gocode
export PATH=$PATH:$GOPATH/bin
Next, by modifying the ~/.profile file, we don’t need to set this variables every time we starting up new terminal
sudo nano ~/.profile
//add the below lines to the file
export PATH=$PATH:/usr/local/go/bin
export GOPATH=~/gocode
export PATH=$PATH:$GOPATH/bin
Now, reload the ~/.profile file
//reload the file
source ~/.profile
Step 3 — Installing lnd. To install lnd, run the following commands
go get -d github.com/lightningnetwork/lnd
cd $GOPATH/src/github.com/lightningnetwork/lnd
In building the lnd program, installing Build Essentials is a must. Run the following command
sudo apt-get update
sudo apt-get install build-essential
Now, to build lnd, run the following command
make && make installTo check whether your installation is properly installed or not, run this command.
make checkStep 4 — We can start lnd once bitcoind is synced. As we are now going to run lnd for the first time, run the following command:
screen -S lnd
lnd --bitcoin.active --bitcoin.mainnet --debuglevel=debug --btcd.rpcuser=ciphertrick --btcd.rpcpass=yourusername --externalip=xxx.xxx.xxx.xxx
If everything is good to go, lnd will ask you to unlock your wallet or create a new. To create a new wallet, detach from the screen. Run the following wallet to create a new wallet:
lncli createThis will prompt for a wallet password, and optionally a seed passphrase. lnd will then print a 24 wordseed mnemonic, which can be used to recover the wallet in case of data loss. The user should write this down and keep in a safe place.
You will now have to unlock the wallet you just created so lnd can proceed with initial sync.
lncli unlockOnce the sync is complete, create and edit the following:
nano $HOME/.lnd/lnd.confInside the file, put the following text:
[Application Options]
; set external IP if not using NAT
externalip=YOURIP
; set node alias (seen in explorers)
alias=SET-YOUR-ALIAS

[Bitcoin]
bitcoin.active=1
bitcoin.mainnet=1
bitcoin.node=bitcoind

[Bitcoind]
bitcoind.rpcuser=yourusername
bitcoind.rpcpass=yourpassword
Thereafter you can start lnd without flags.
lndTo verify operation, you could try the following command:
lncli getinfo
lncli getnetworkinfo
lncli describegraph
And if all goes well, congratulations, now you have a functional Lightning Network node, capable of sending and receiving Bitcoin, hosted by using BizCloud cloud.
 Admin Istrator on Nov 19, 2019