In managing a business, especially for freelancer, a portable and low cost solution is a must. There are a lot of options in the market regarding financial management, which covers a lot of angle that are suitable for freelancer and even large company.
There are lots of applications that are available to be used for this purpose, and we provide few of the applications that can be used for BizCloud user.
The 3 applications are available for your choices to be used are the following:
- Akaunting
- Invoice Ninja
- SolidInvoice
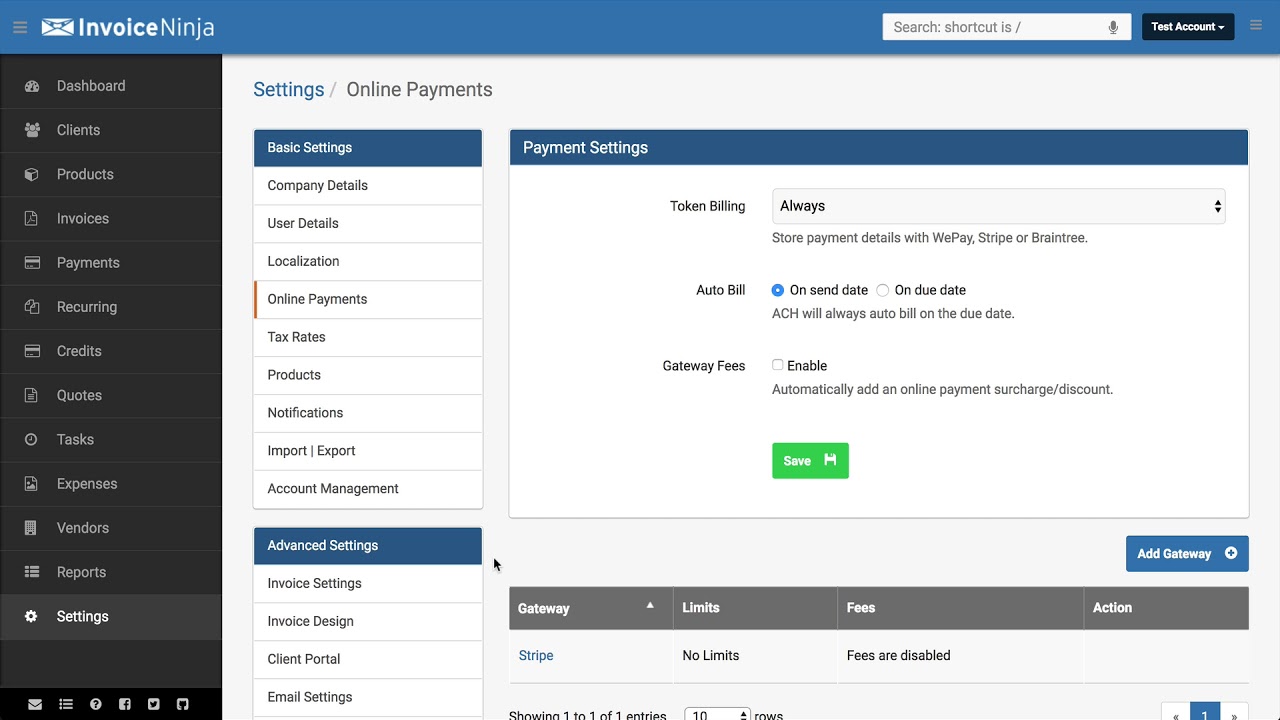
In this article, we will show you the process of self-hosting of Invoice Ninja, by using BizCloud website.
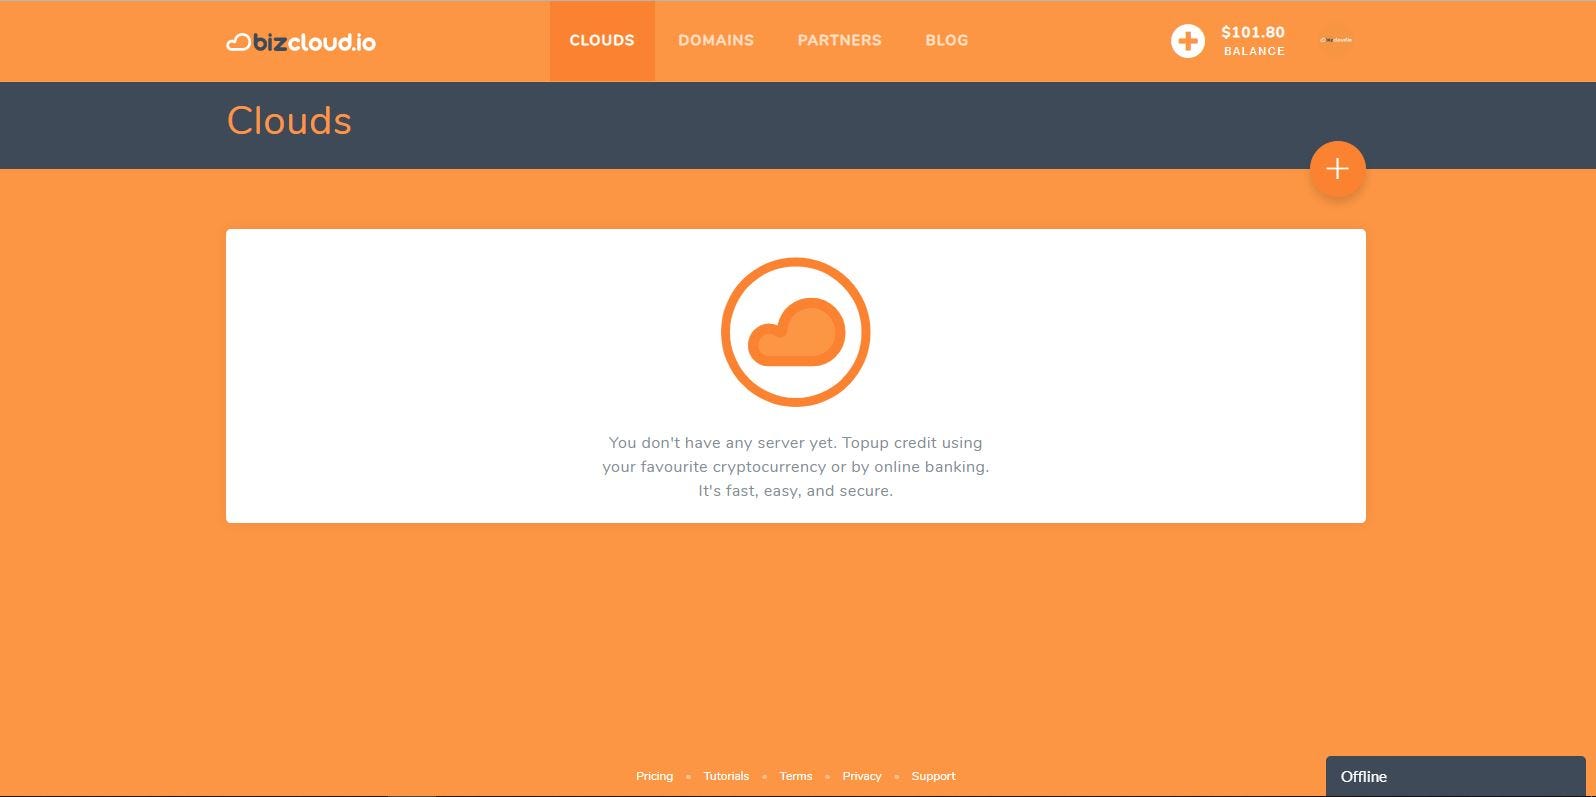
Step 1 — Login into your BizCloud account, top up the credit by using Bitcoin or other crptocurrencies such as Litecoin, Ethereum, Ripple and Bitcoin Cash if you don’t have enough credit.
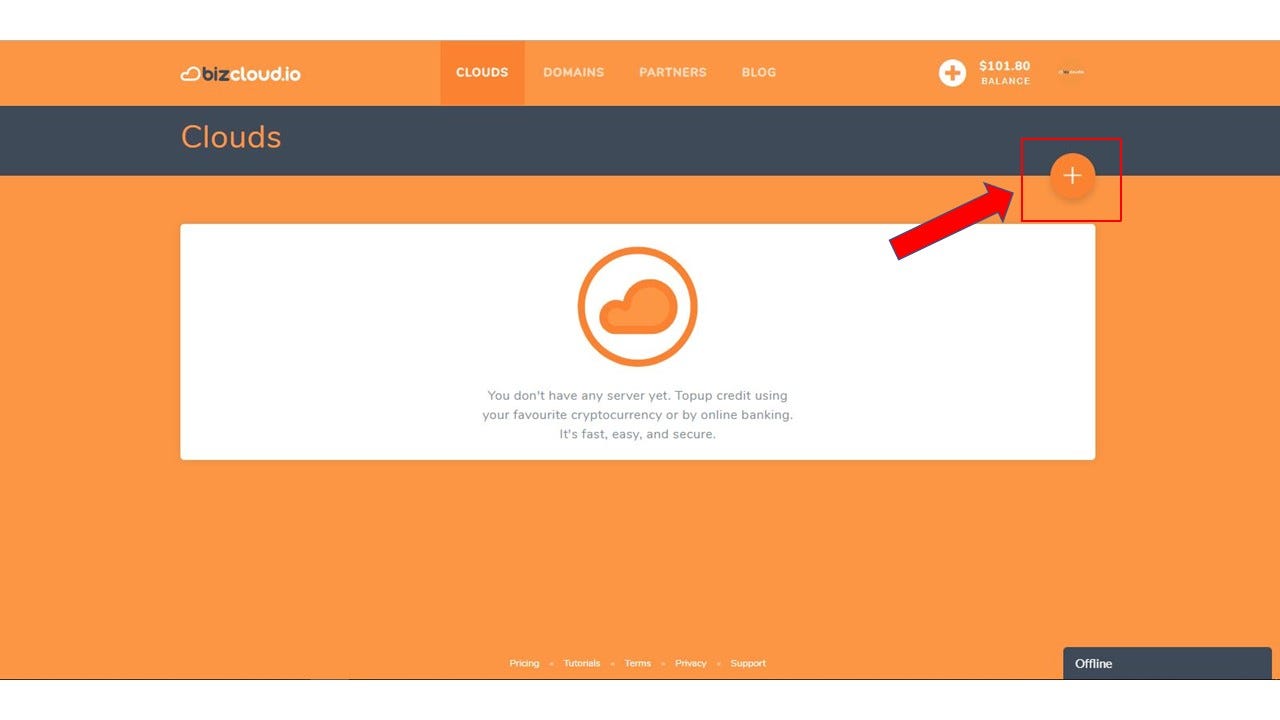
Step 2 — Create your cloud by clicking the plus sign on the right side of the website.
Step 3 — You will be directed to “Create Cloud” page. To navigate to the financial applications, click on the “One-click app”.
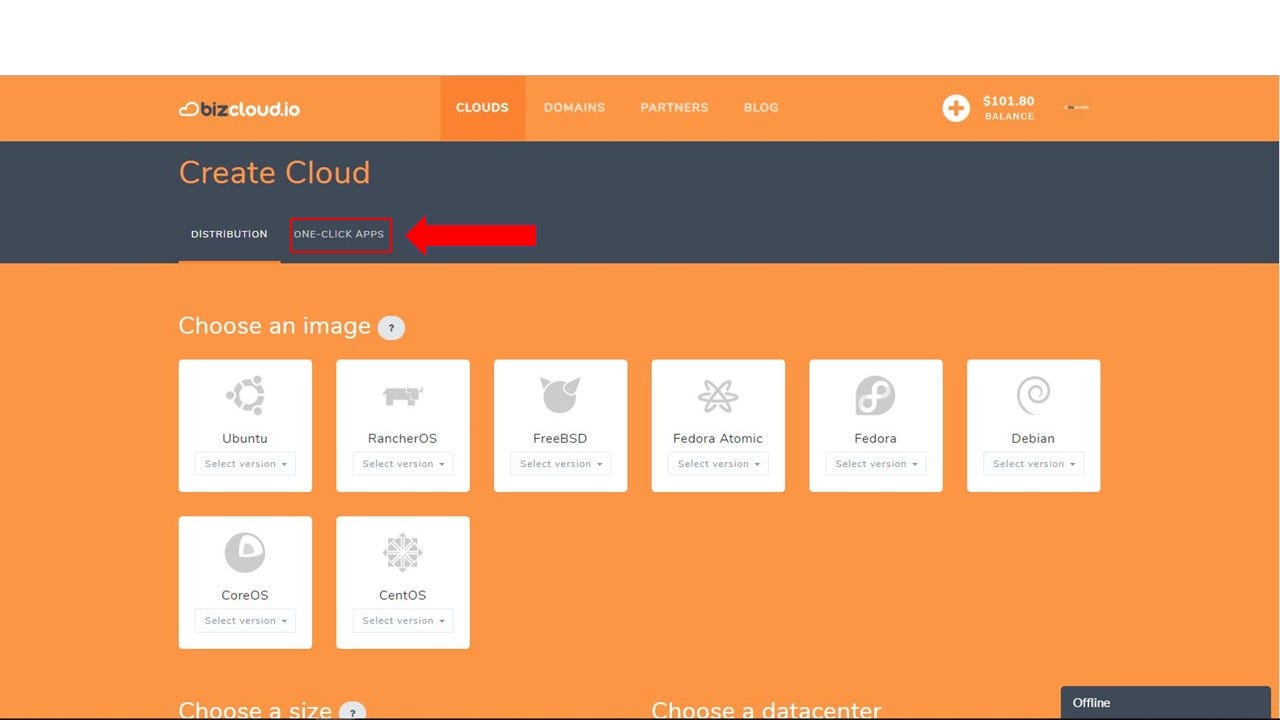
Fig 1. You will be directed to this page once you click the One-click apps
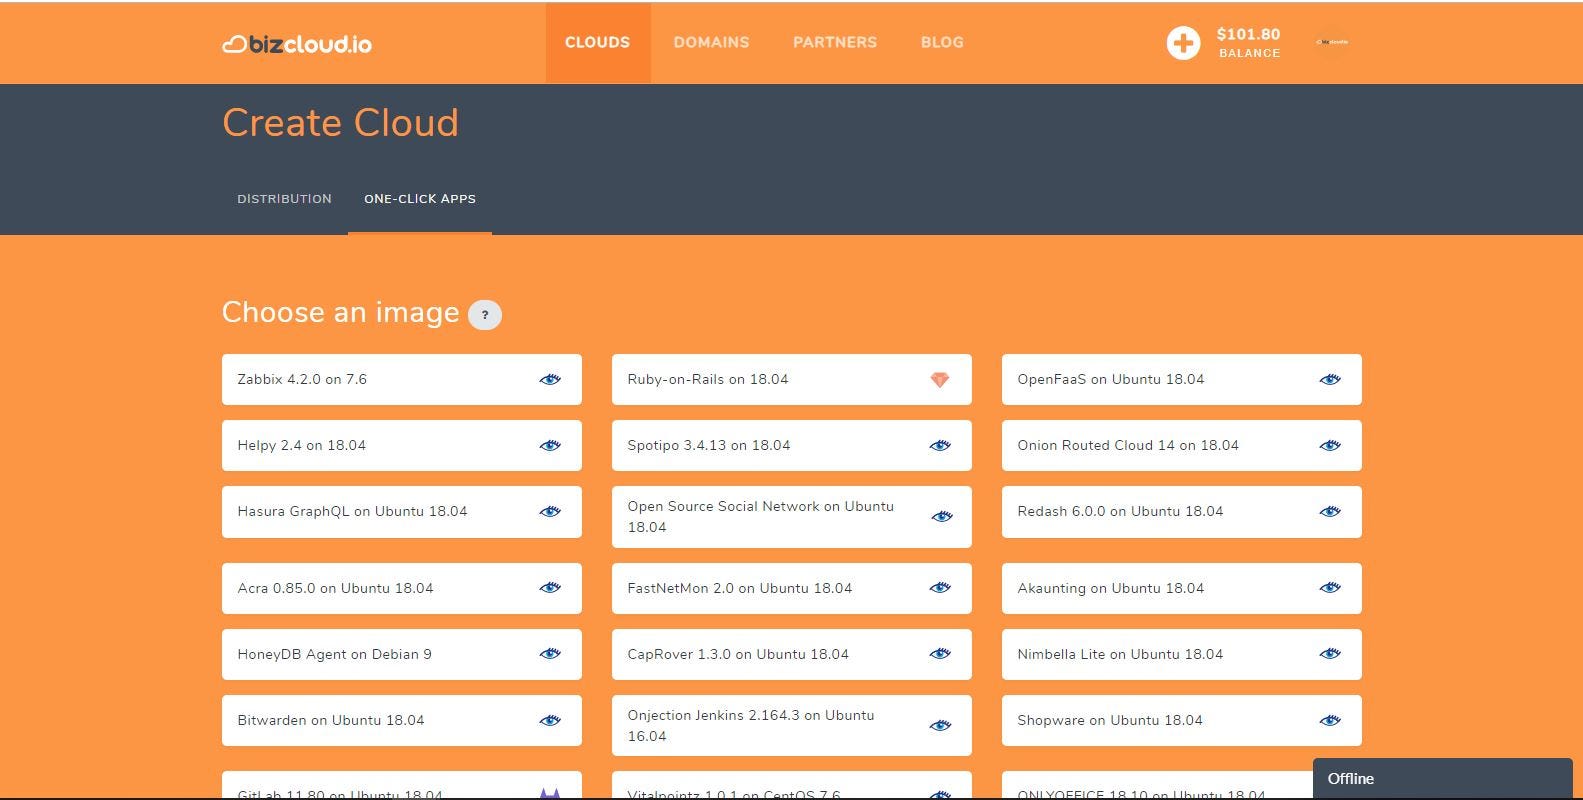
Fig 2. Some of the choices of apps in BizCloud (1)
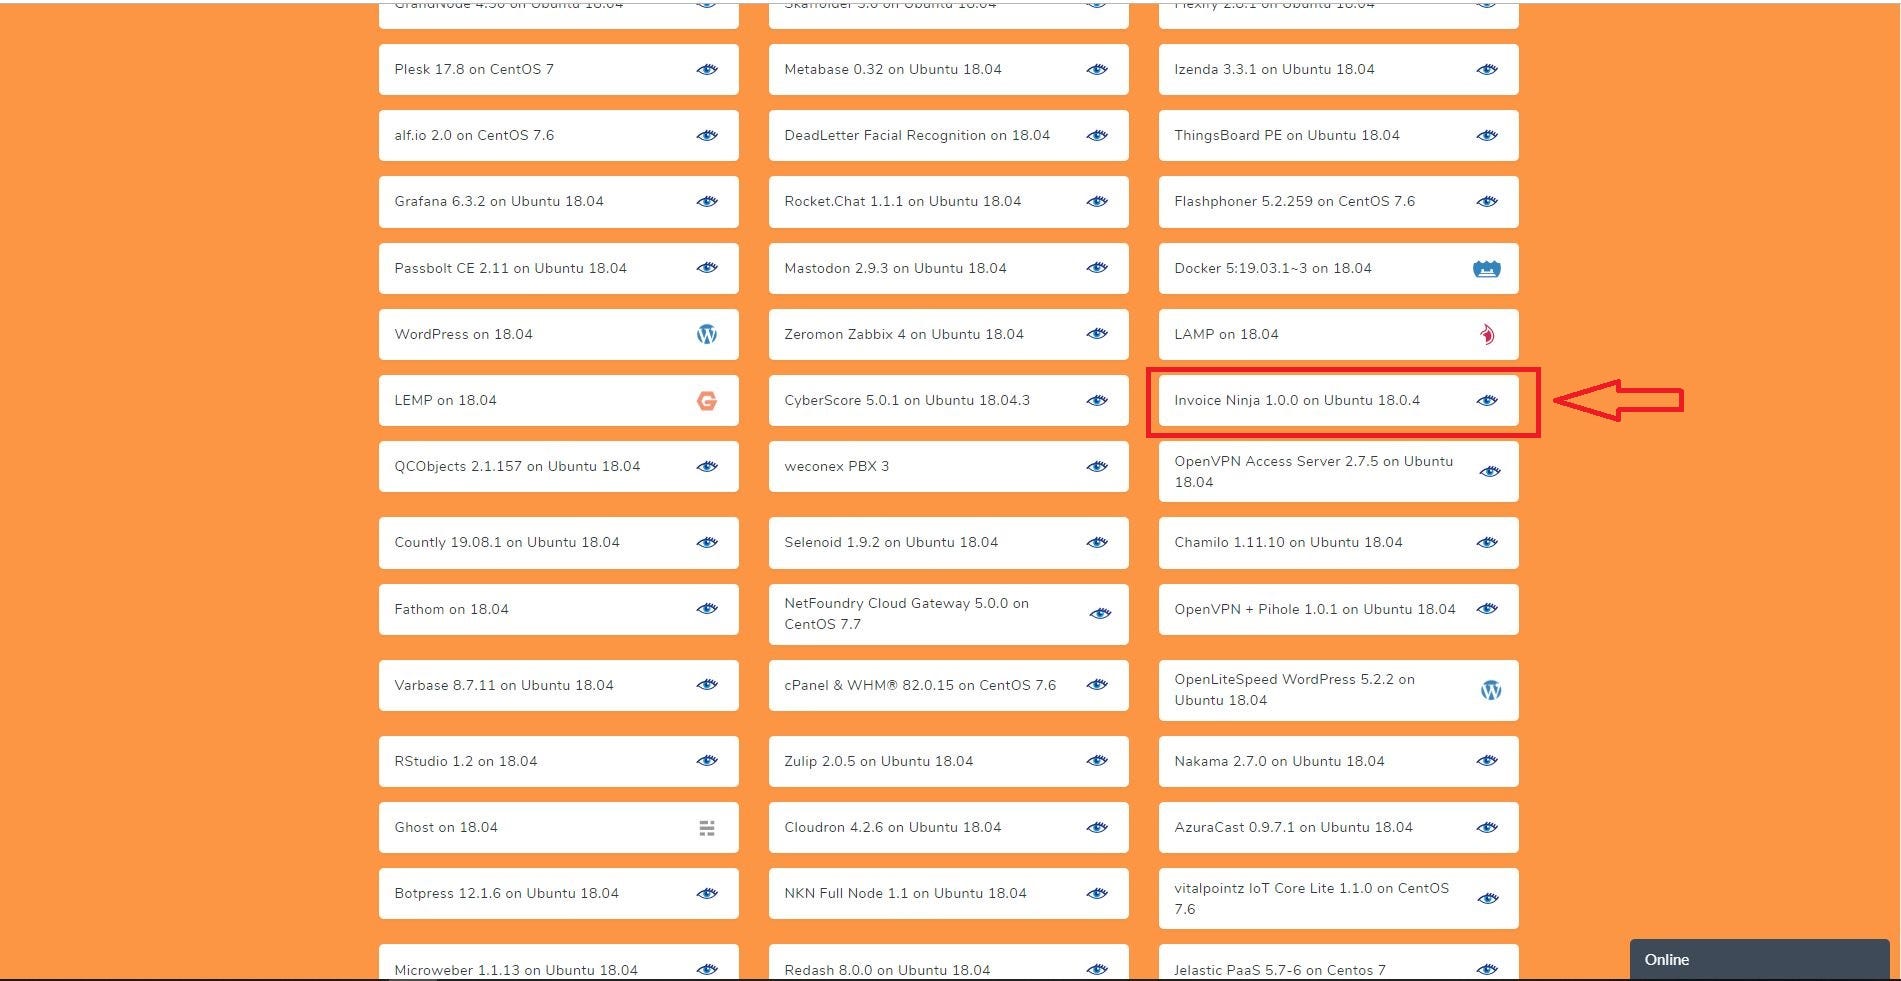
Fig 3. Some of the choices of apps in BizCloud (2)
Step 4 — Choose and click Invoice Ninja 1.0.0 on Ubuntu 18.0.4
Steps 5 — Complete all other process of cloud creation such as size of cloud, datacenter location, SSH public key, cloud hostname and then finally click create cloud.
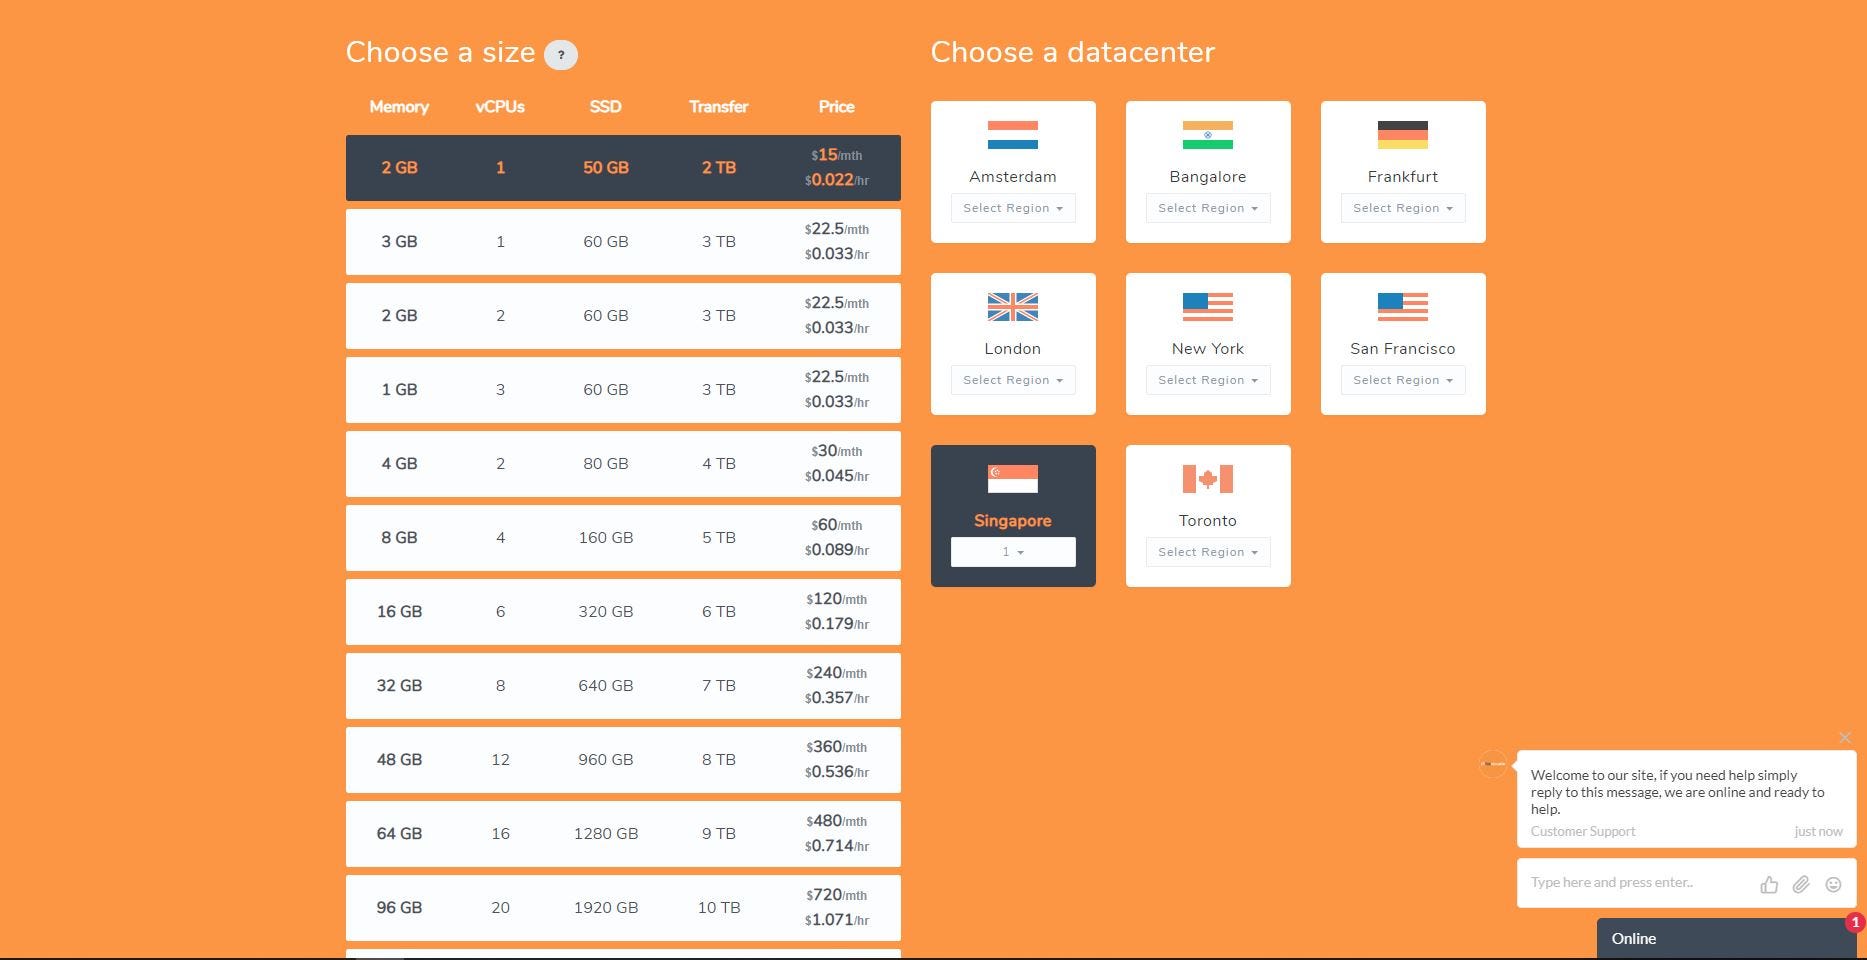
Fig 4. Choosing size and datacenter location
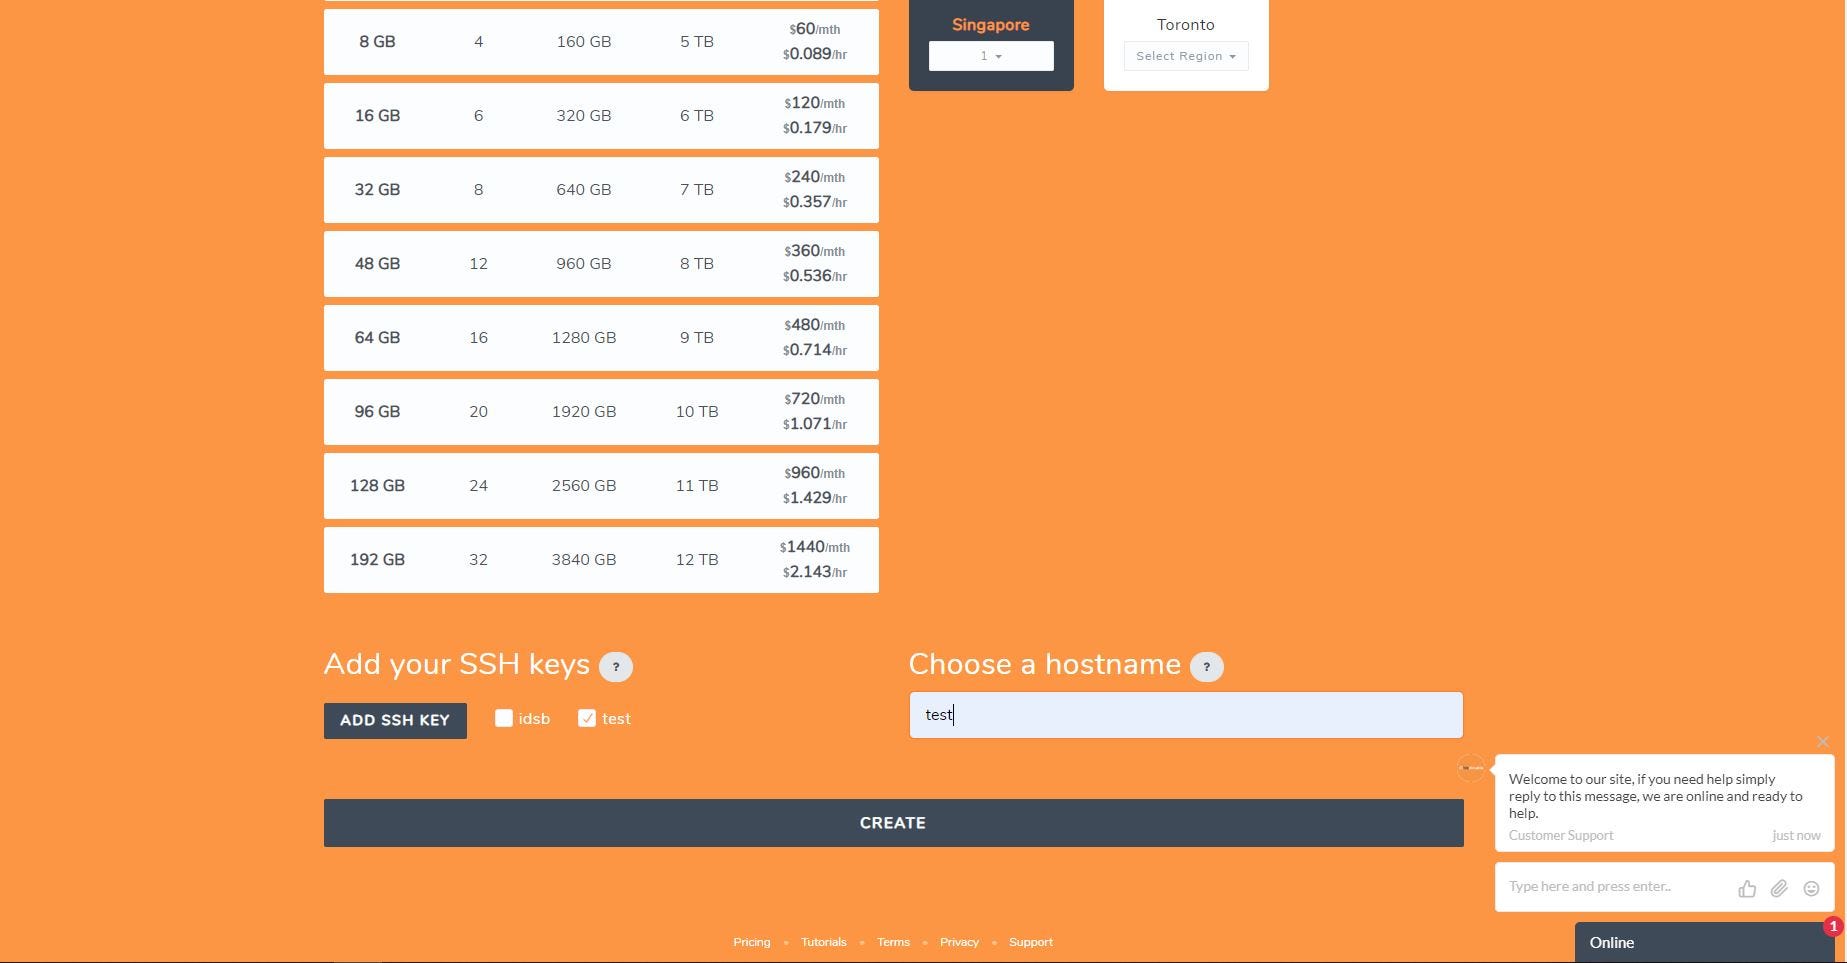
Fig 5. Adding your SSH key and give a hostname for your application cloud

Fig 6. Click create and wait until your cloud creation is complete
Step 6 — Once your cloud is completed, login using your SSH application using the IP address given in the cloud details.
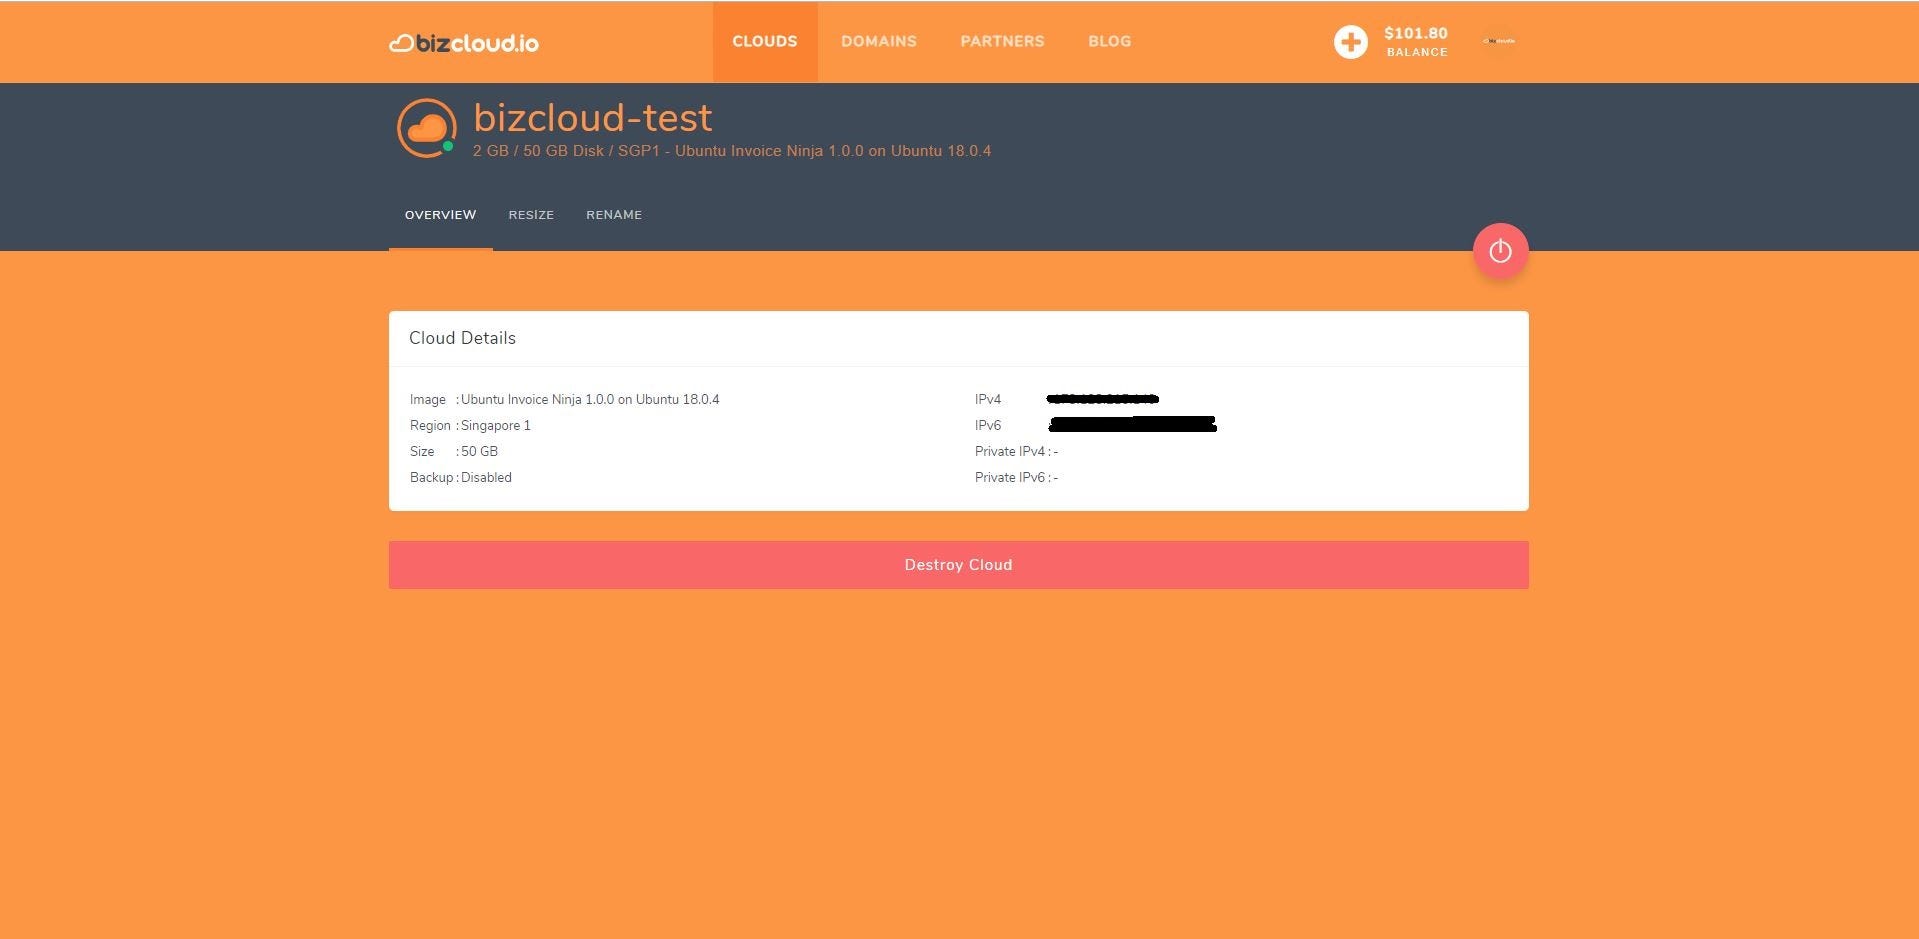
Fig 7. Your cloud details

Fig 8. Once you login into the cloud, you can open your browser and put in the IP address of your cloud to start setting up you application
Step 7 — Now you can setup your application by using your browser. In the browser, key in your IP address, and the setup page for Invoice Ninja will appear.

Step 8 — You can continue to setup this application by using the reference here: https://invoice-ninja.readthedocs.io/en/latest/ or by visiting their website to explore more about their functionality: https://www.invoiceninja.com/
Now, congratulations, you completed setting up a financial management application Invoice Ninja, hosted on BizCloud.
 Admin Istrator on Nov 19, 2019