WordPress is the most known blogging platform for beginner, as it is widely used for various purposes, and lot of market share. However, there is an alternative blogging platform which are technically more capable compared to WordPress, and it is highly suited for blogging and publishing platform.
In this article, we will explore on how to deploy your own self-hosted Ghost blogging and publishing platform, using BizCloud.io cloud. Before we go further, let me introduce Ghost. Ghost is designed to be a platform that allows bloggers to easily publish their content with almost no learning curve. Ghost also aims to provide useful statistical insights into your content and give a real time preview of how your posts would appear on a live site.
Why should you use Ghost? Ghost has quite similar purposes with WordPress, but it could be a better alternative to WordPress, as it has 4 main improvements compared to WordPress.
Pros Compared to WordPress
- Ghost is much more simple.
- Ghost has SEO & social built-in.
- Automated publication setup with Ghost.
- Ghost is faster.
Even though Ghost has it own advantages, it also has it own disadvantaged compared to WordPress in some area.
Cons Compared to WordPress
- WordPress is better for building full business website.
- WordPress has advanced functionality, such as e-commerce.
- WordPress is suitable for making your own custom features with plugins.
If you think your requirement could be fulfilled by using Ghost, you are better choosing Ghost as blogging platform.
How to Self-hosting Ghost on BizCloud.io
Hosting and configuring Ghost would be easy to be done on BizCloud. Steps below is how you can self-host your Ghost website.
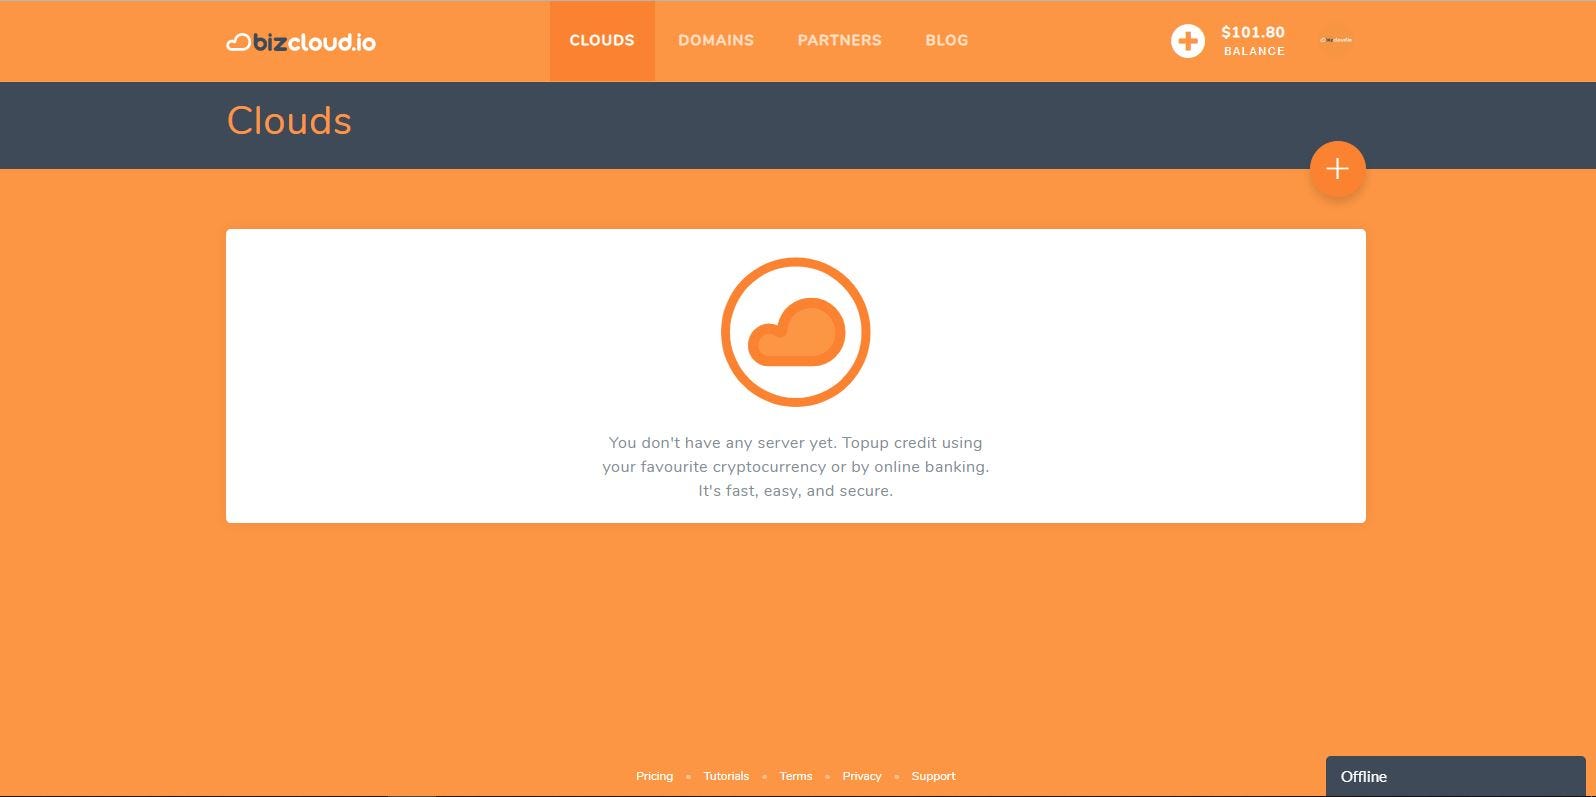
Step 1 — Login into your BizCloud account, top up the credit by using Bitcoin or other crptocurrencies such as Litecoin, Ethereum, Ripple and Bitcoin Cash if you don’t have enough credit.
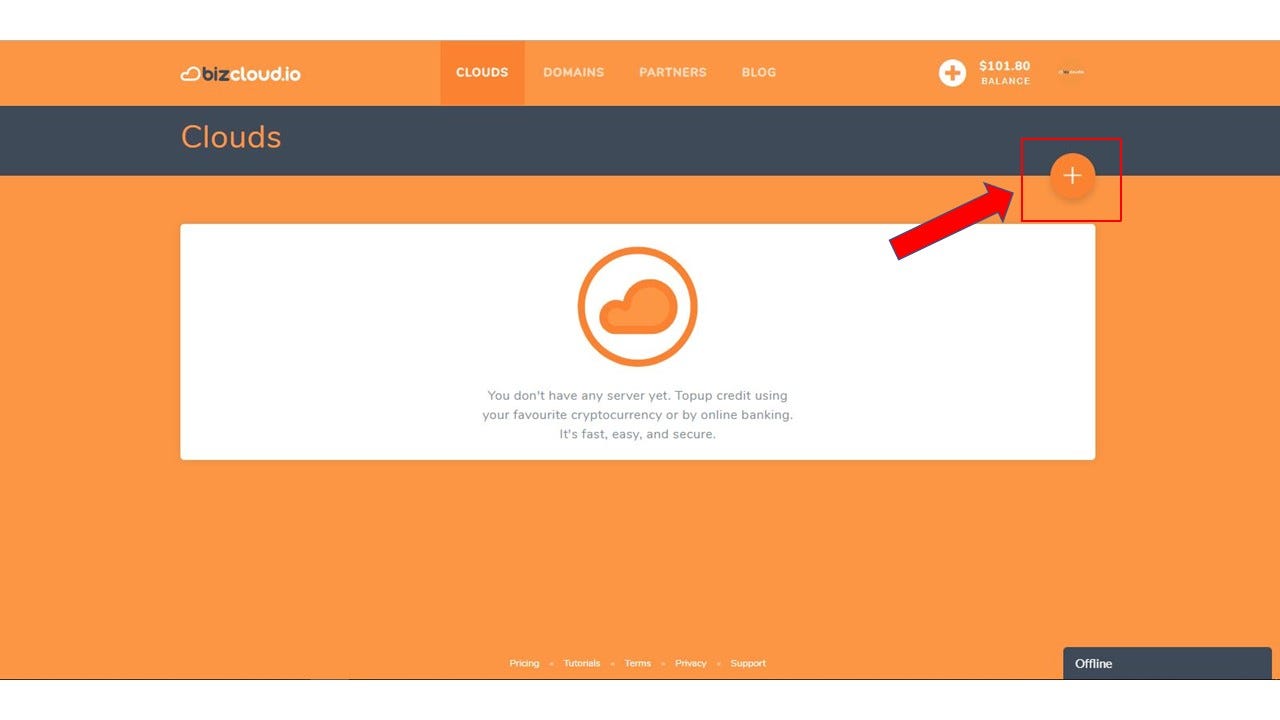
Step 2 — Create your cloud by clicking the plus sign on the right side of the website.
Step 3 — You will be directed to “Create Cloud” page. To navigate to the Bitwarden application, click on the “One-click app”.
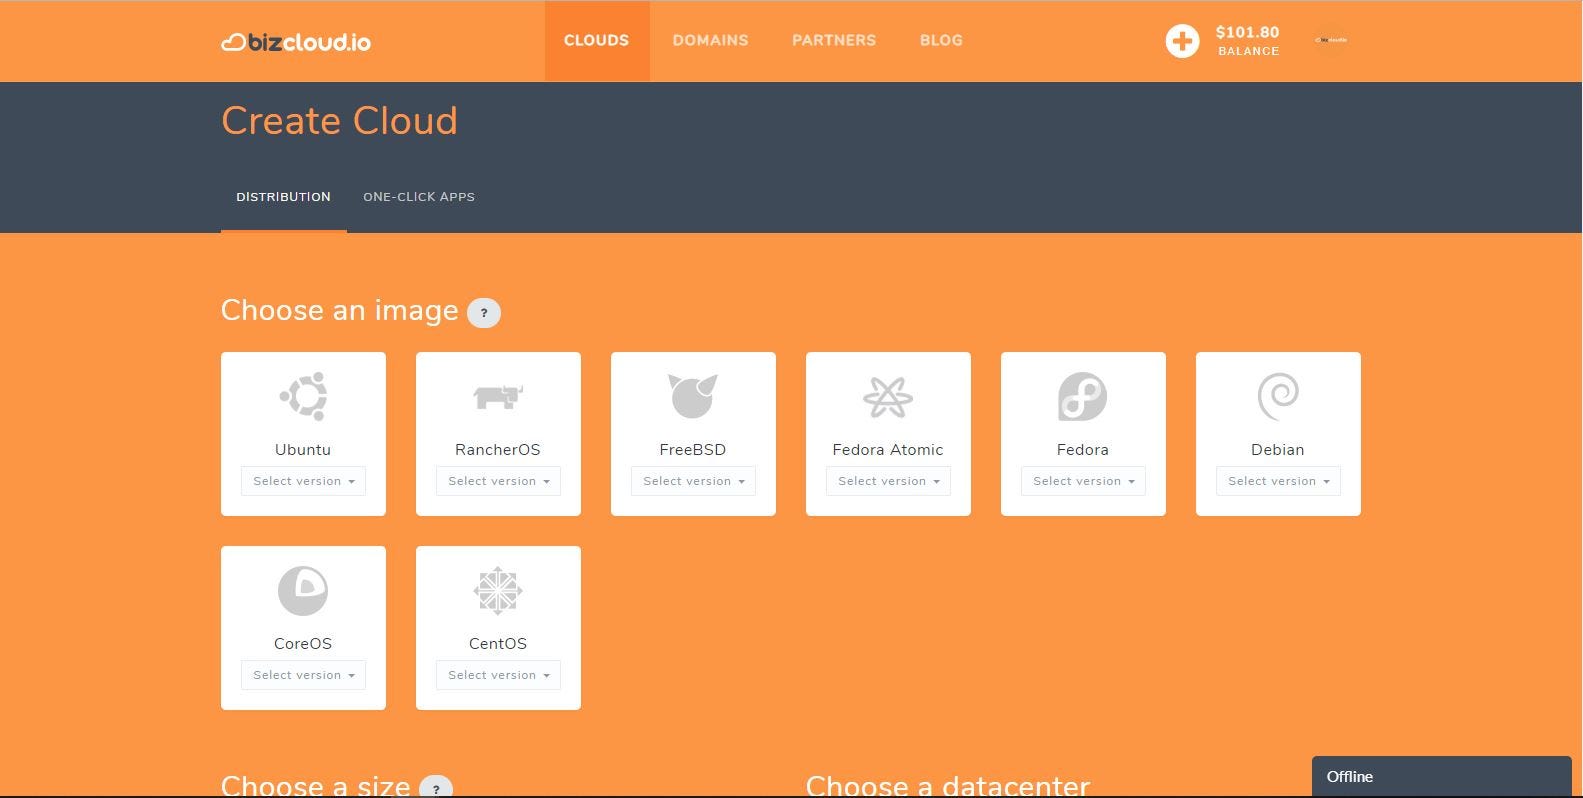
You will then be directed to the following page once you click the One-click apps.
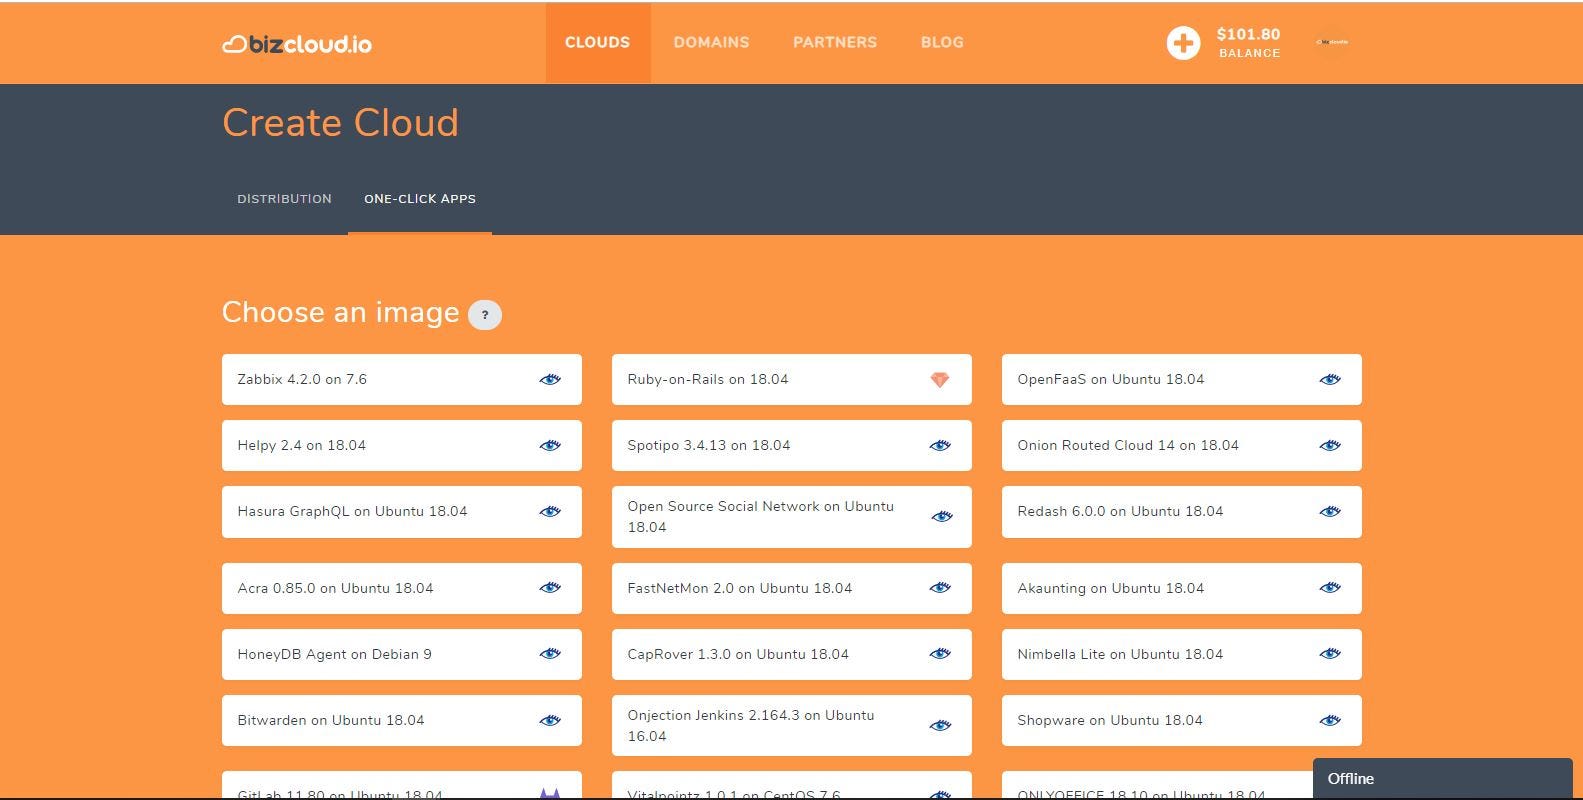
Some of the choices of apps in BizCloud (1)
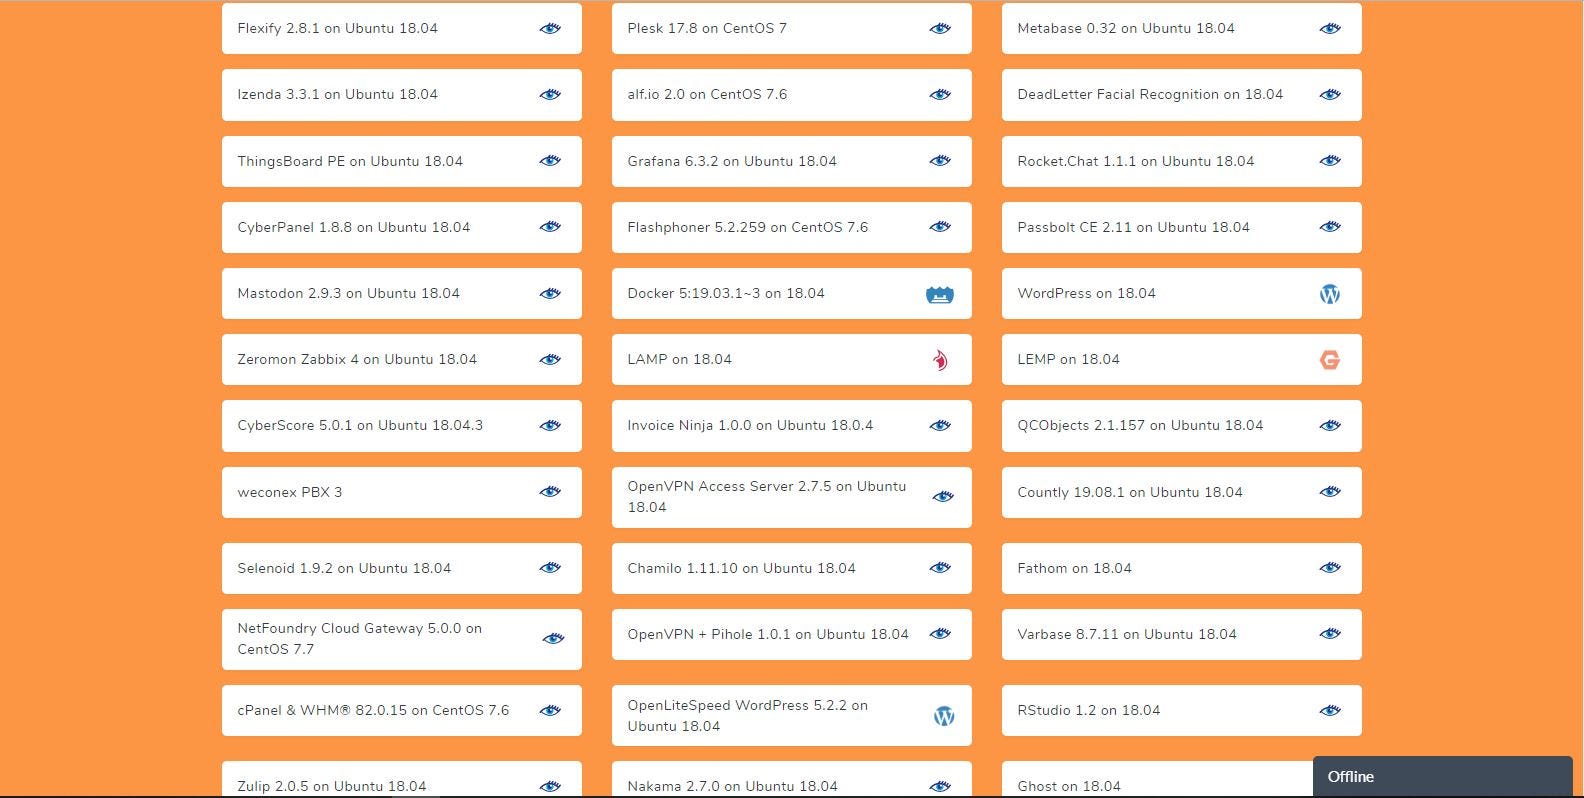
Some of the choices of apps in BizCloud (2)
Step 4 — Choose and click Ghost on 18.0.4

Steps 5 — Complete all other process of cloud creation such as size of cloud, datacenter location, SSH public key, cloud hostname and then finally click create cloud.
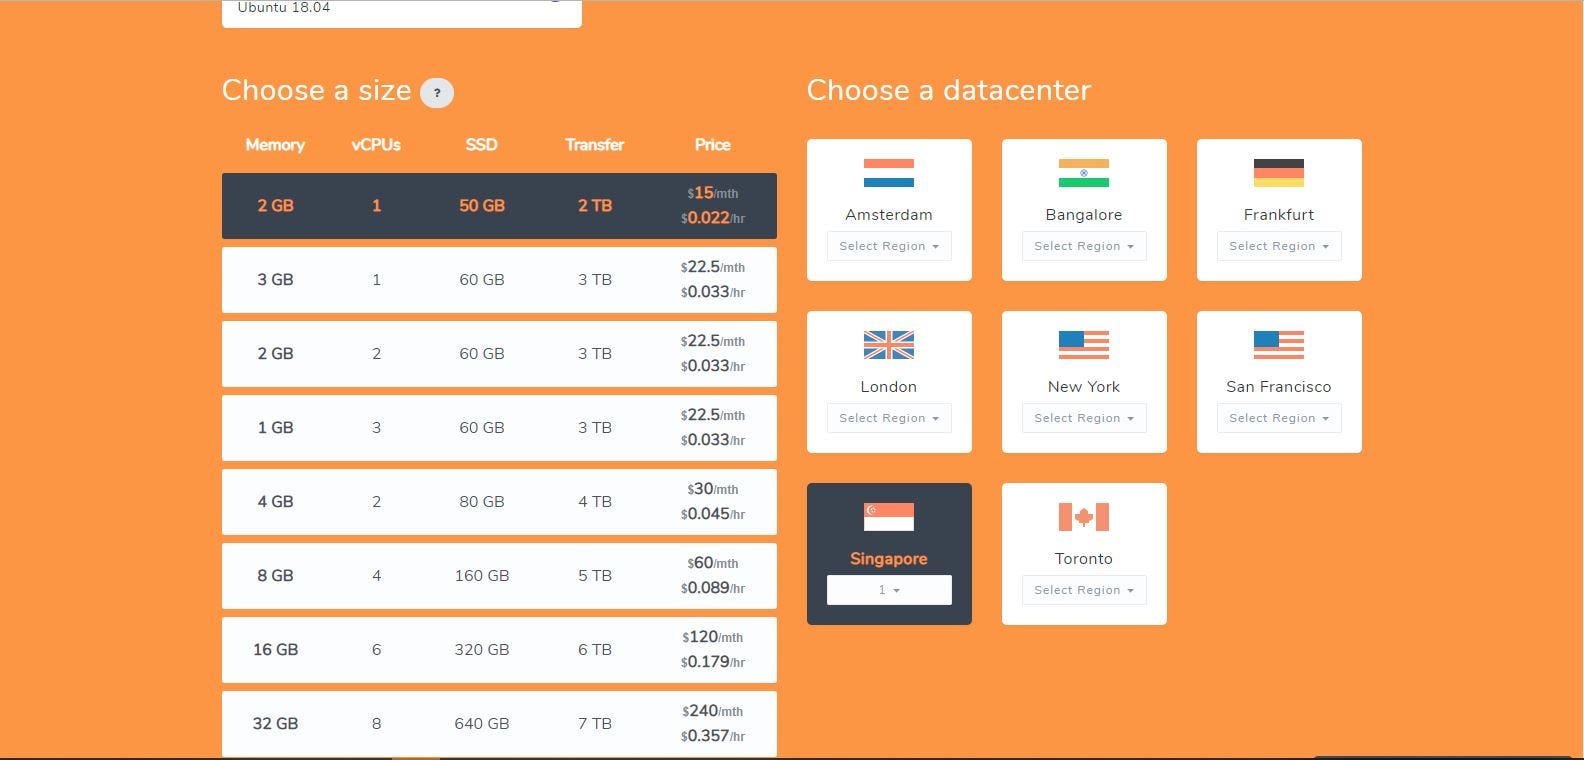 Choosing size and datacenter location
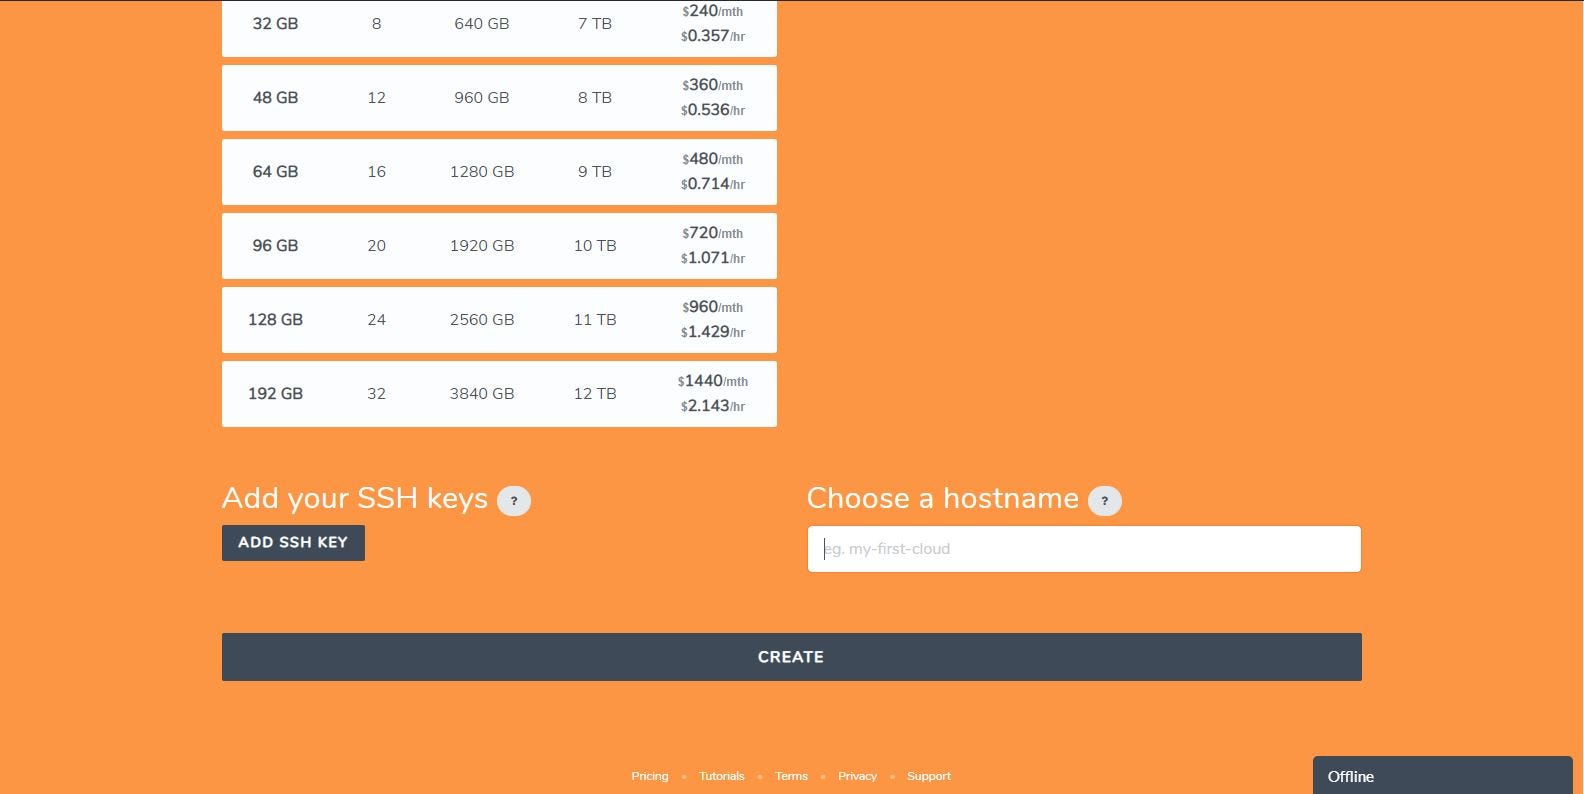 Adding your SSH key and give a hostname for your application cloud
 Click create and wait until your cloud creation is complete
Step 6 — Once your cloud is completed, login using your SSH application using the IP address given in the cloud details. Proceed with the installation process
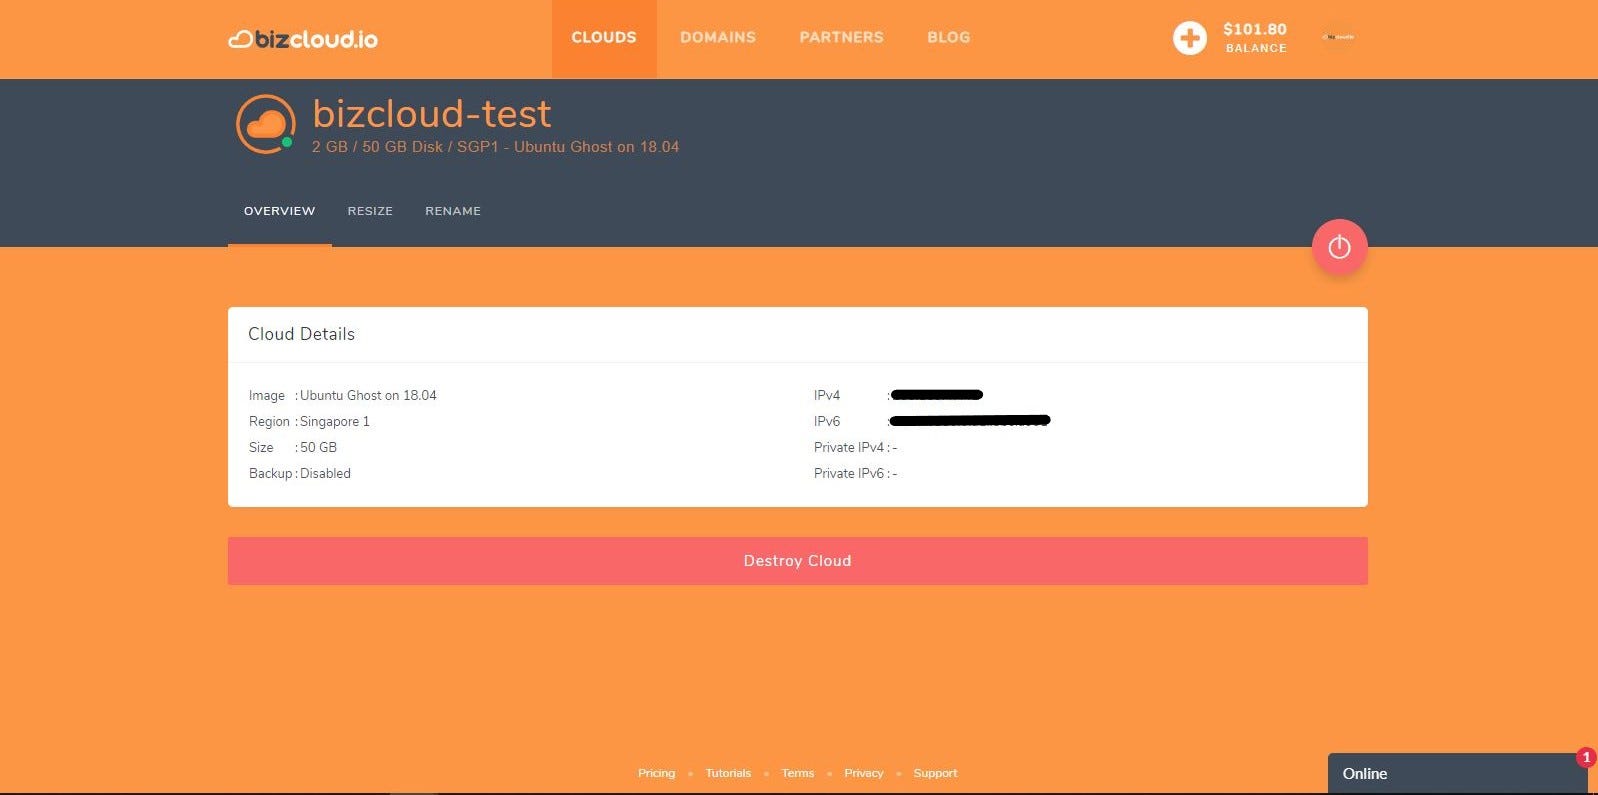 Login into the cloud by using the provided IP address and your SSH application
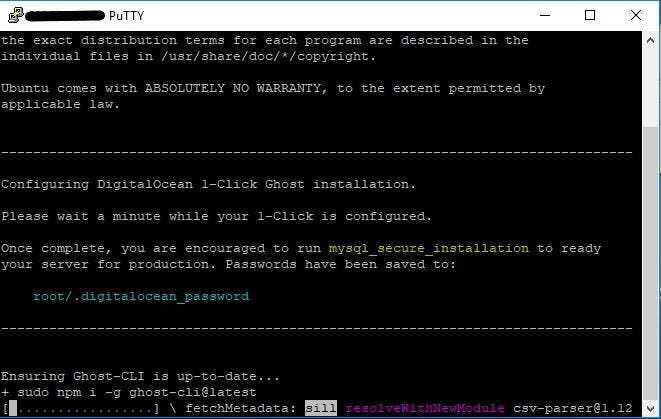 Your dependencies installation of Ghost will start once your connection to the cloud is successful
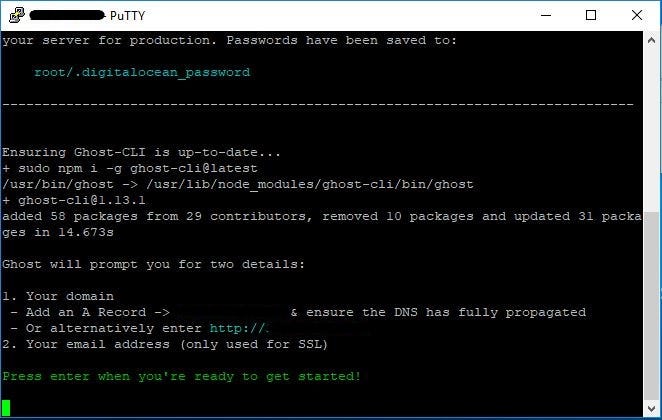 Once the dependencies is completed, the command line will wait for your input to proceed installing Ghost
The installation then proceed to verify all the package and it will also prompt for your DNS. In case if you didn’t have DNS, you can configure it later after the installation is completed.
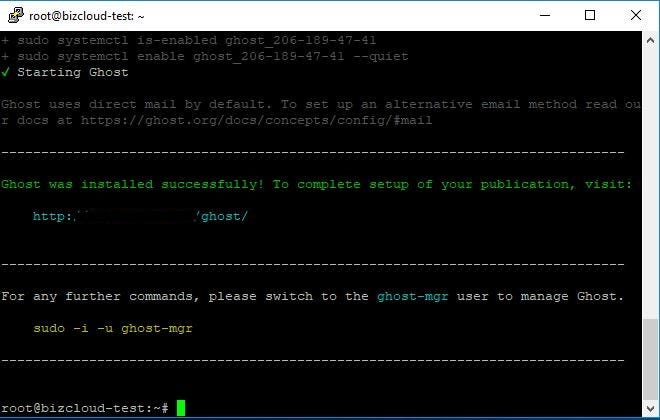
You will get the notification on the command line once Ghost installation is completed.
Step 7 — Once the installation is completed, you can used you chosen browser to access your Ghost configuration. Go to your browser and type in
http:<your_IP_address_or_your_domain_name>/ghostThe following image will then appear.
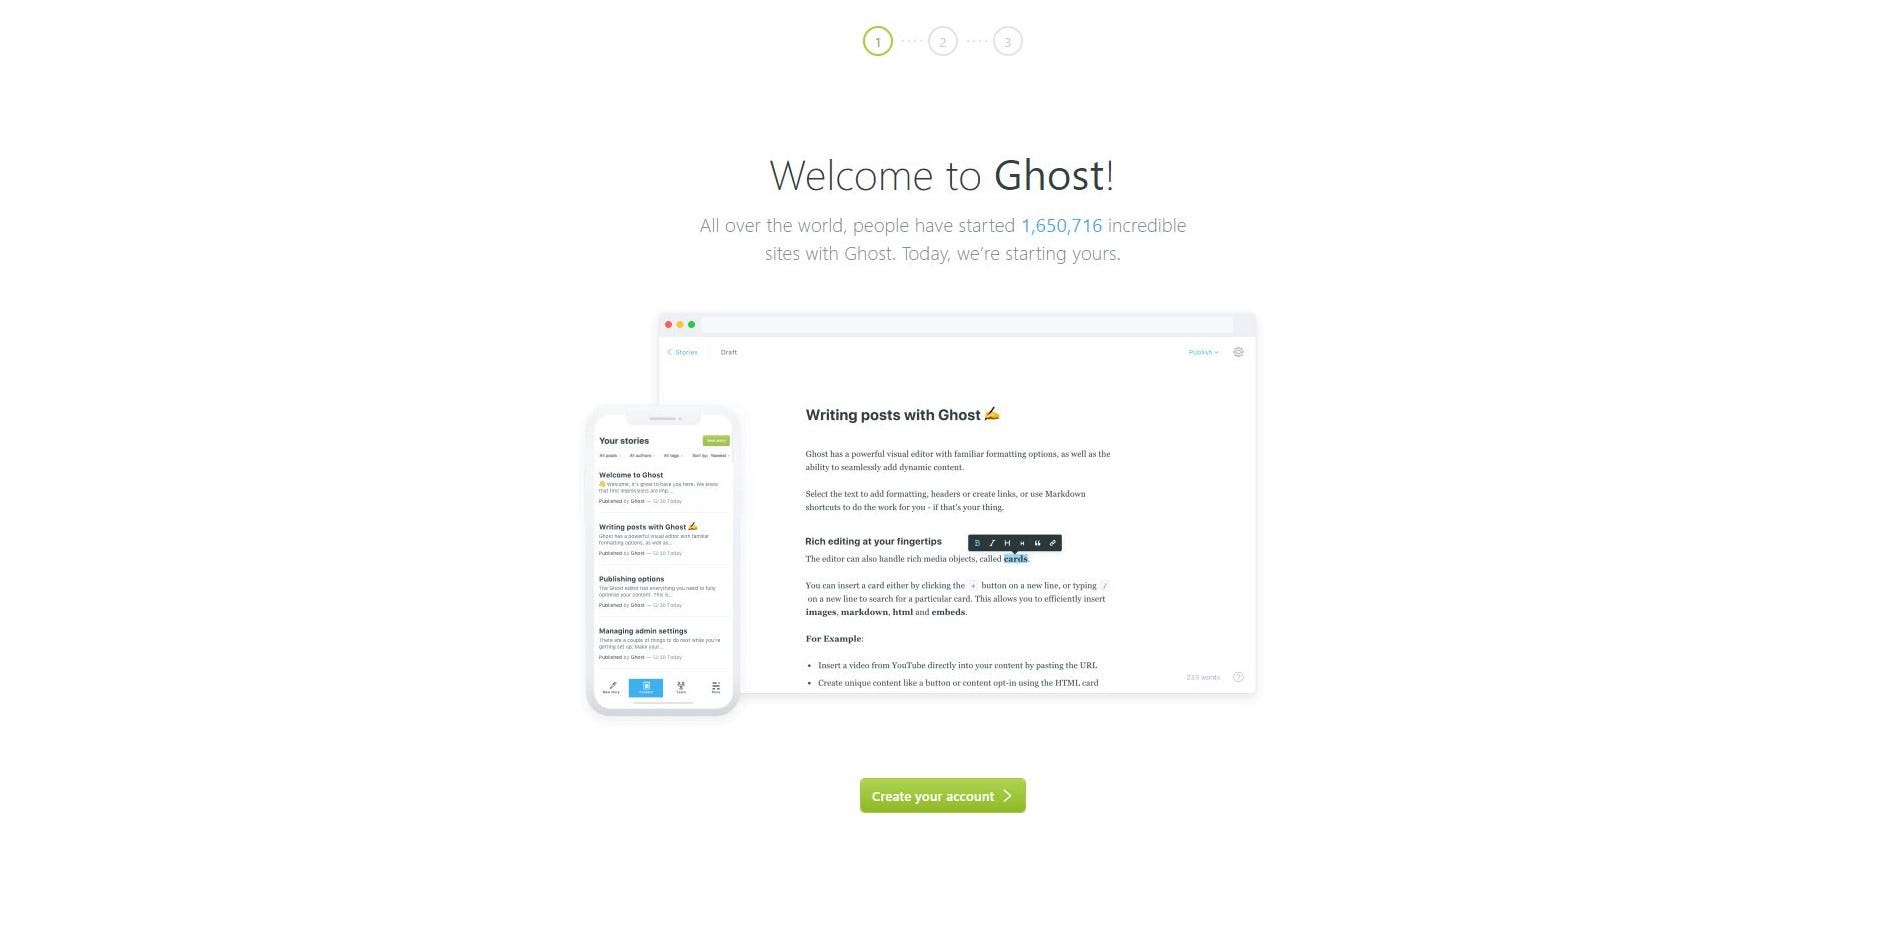 Click the “Create your account” button.
Proceed with the account creation. You will be prompted to fill your name, email and password for the account creation. Once your credentials is completed, you will be directed to the admin dashboard of your Ghost website.
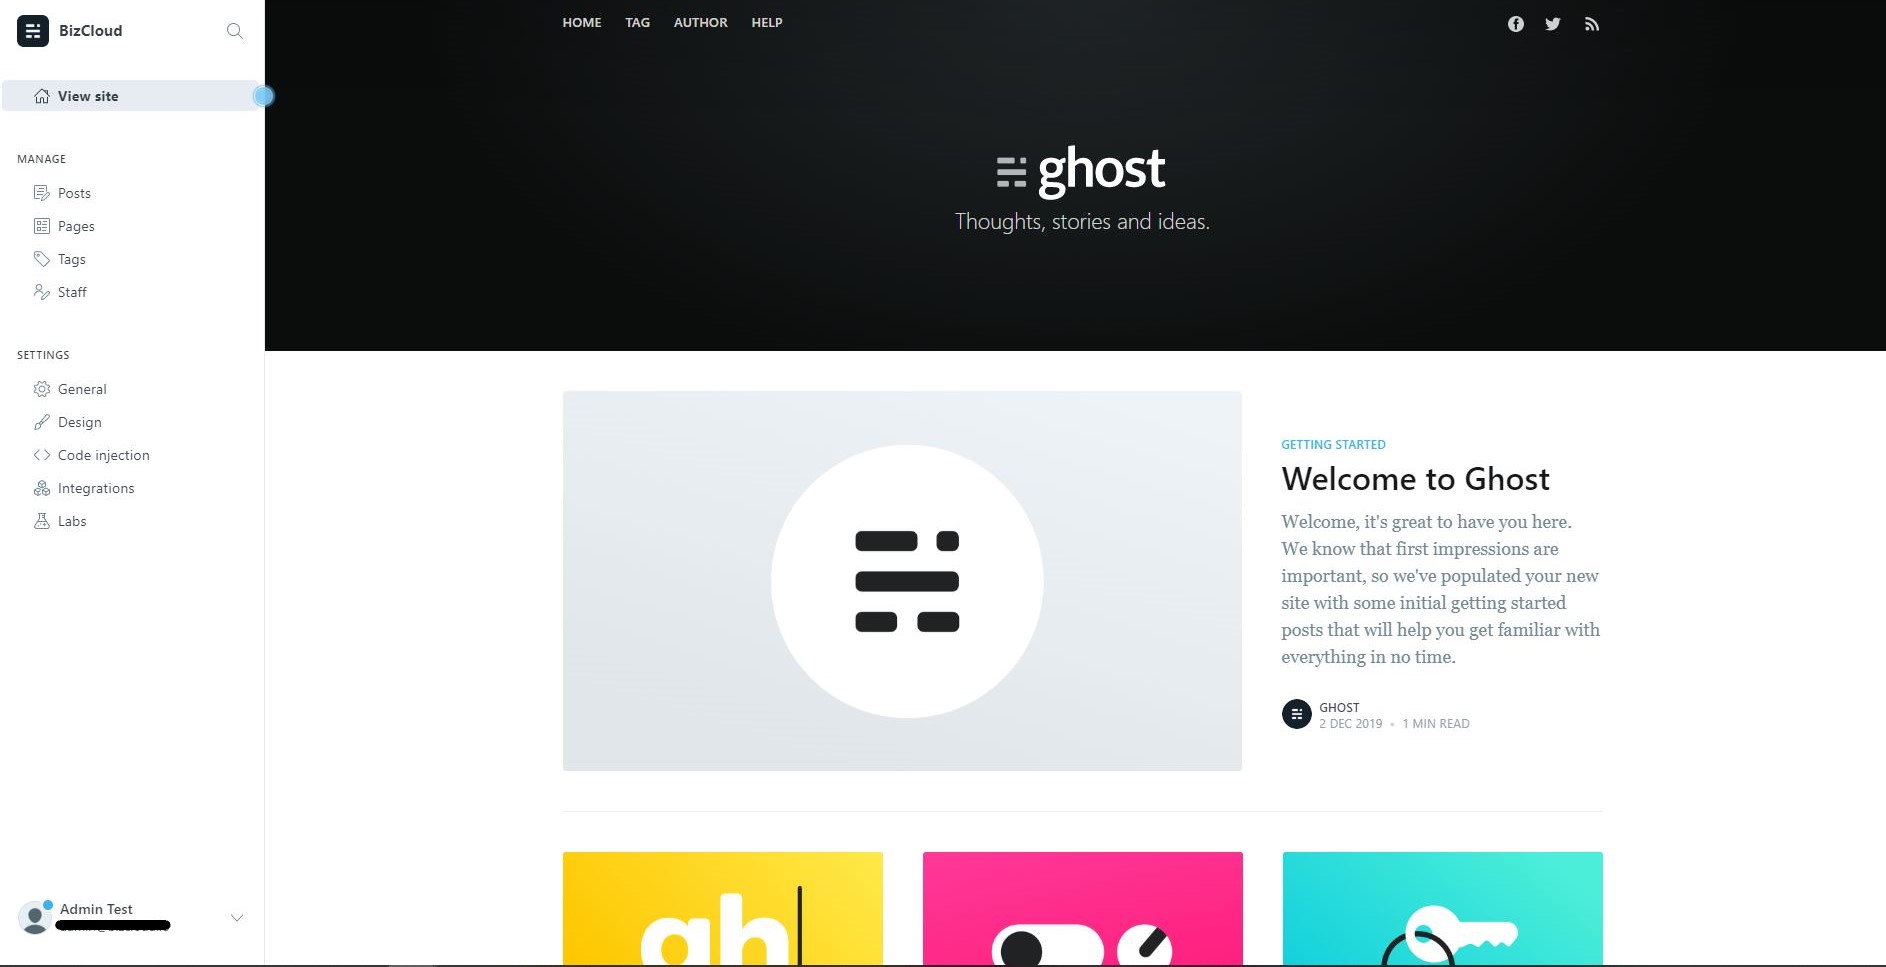
 Dashboard of your Ghost website
 Simple tutorial for managing your publication is available under the manage tab.
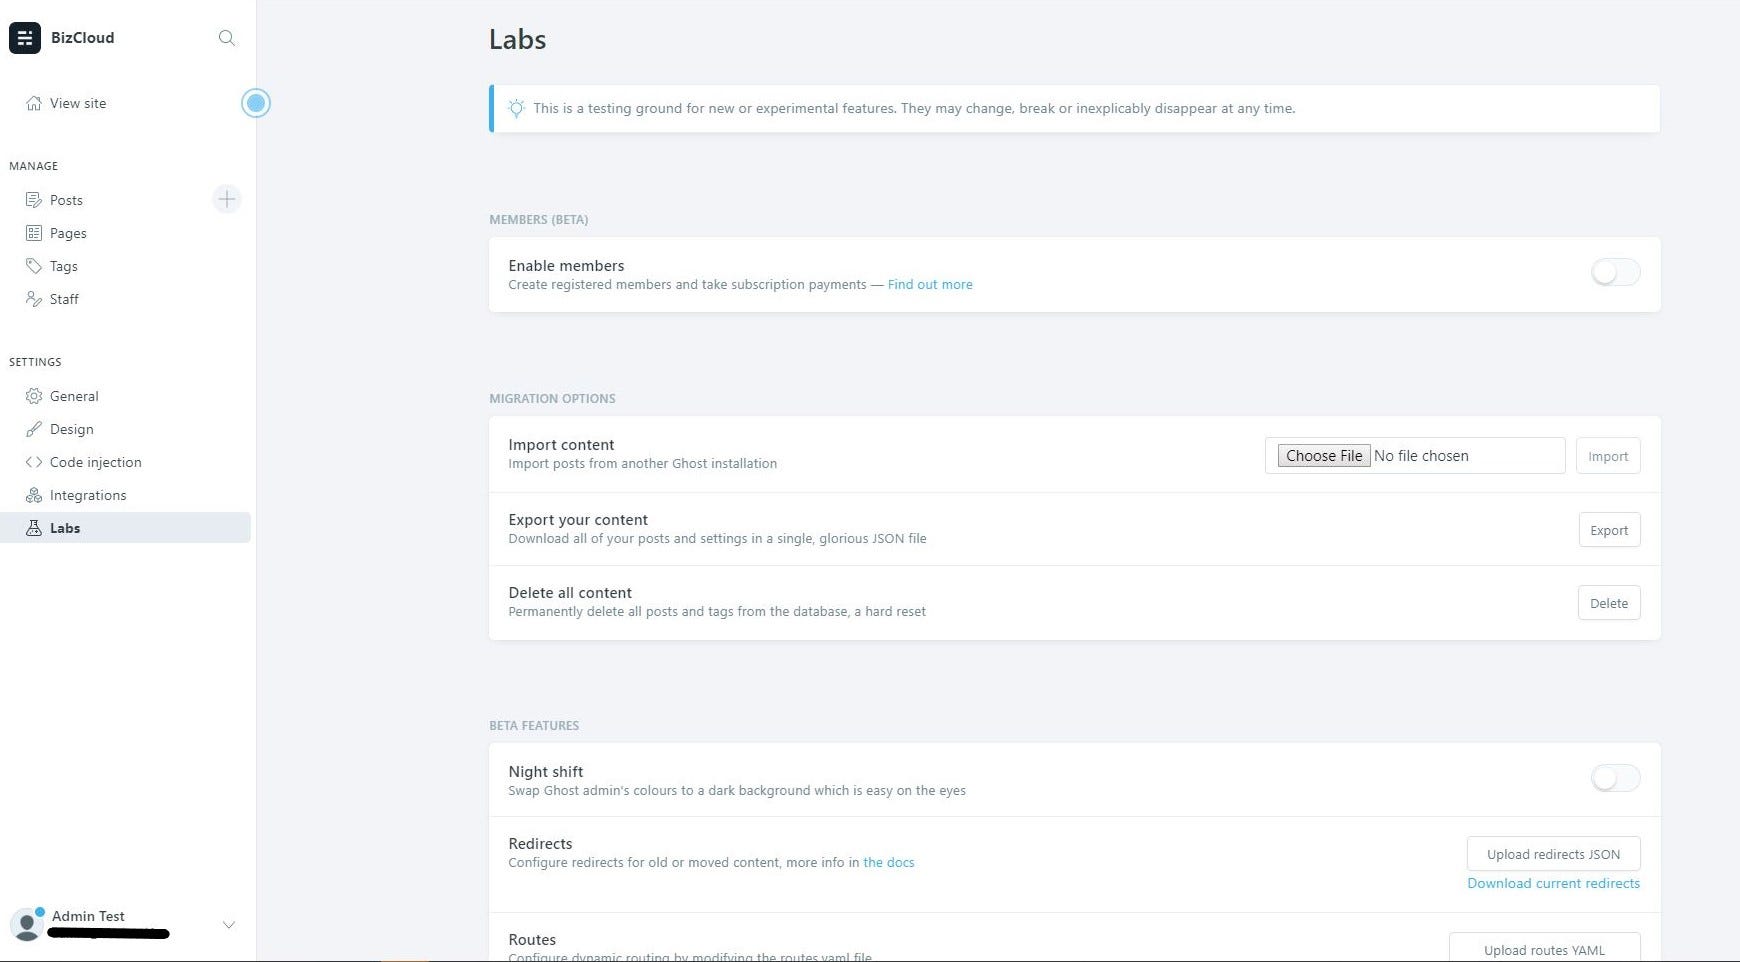 You can also import your previous content of Ghost website.
And that’s it. Your Ghost website is ready for you to use. You can configure all the setting and design, and lot more. You can refer to the documentation from here: https://ghost.org/docs/
 Admin Istrator on Dec 24, 2019