It is common knowledge that password represent large part of our daily life nowadays, as we require it to manage various application whether the application is online or not. As the number of application that we use increases, the management of our password will become more complex, especially when we are using different password for different applications (and this is the safest way for you to manage password- use different password for different application).
There are various applications available on the market to solve the problem of password management, such as LastPass and 1Password. In this post, we want to introduce and guide you on how to setup a self-hosted password management application, Bitwarden by using BizCloud.
Why Use Bitwarden?
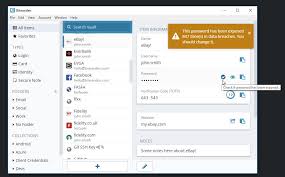
Bitwarden is a password management application, that is suitable for individual, families, teams, and organizations. Bitwarden has the option of self-hosting, which means that your password management will be more secure and safe as all the data is available only to you, without needing any third part keeping and handling your data. And good news is, Bitwarden also release their security assessment, which shows that they are very secure according to the third party audit, with all the discovered vulnerabilities has been rectified.
Without further ado, lets start hosting Bitwarden on your BizCloud cloud.
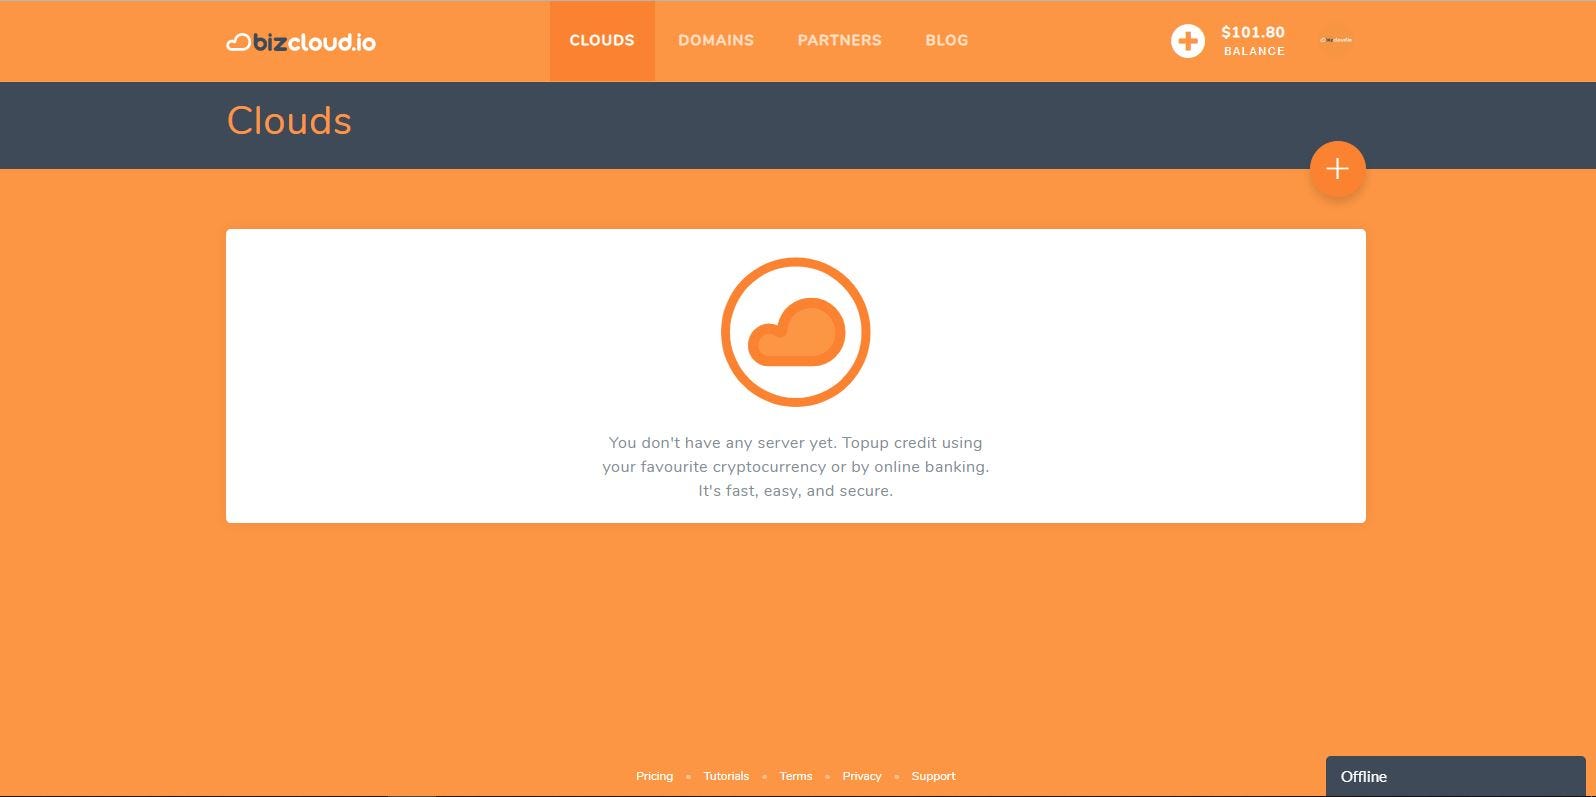
Step 1 — Login into your BizCloud account, top up the credit by using Bitcoin or other cryptocurrencies such as Litecoin, Ethereum, Ripple and Bitcoin Cash if you don’t have enough credit.
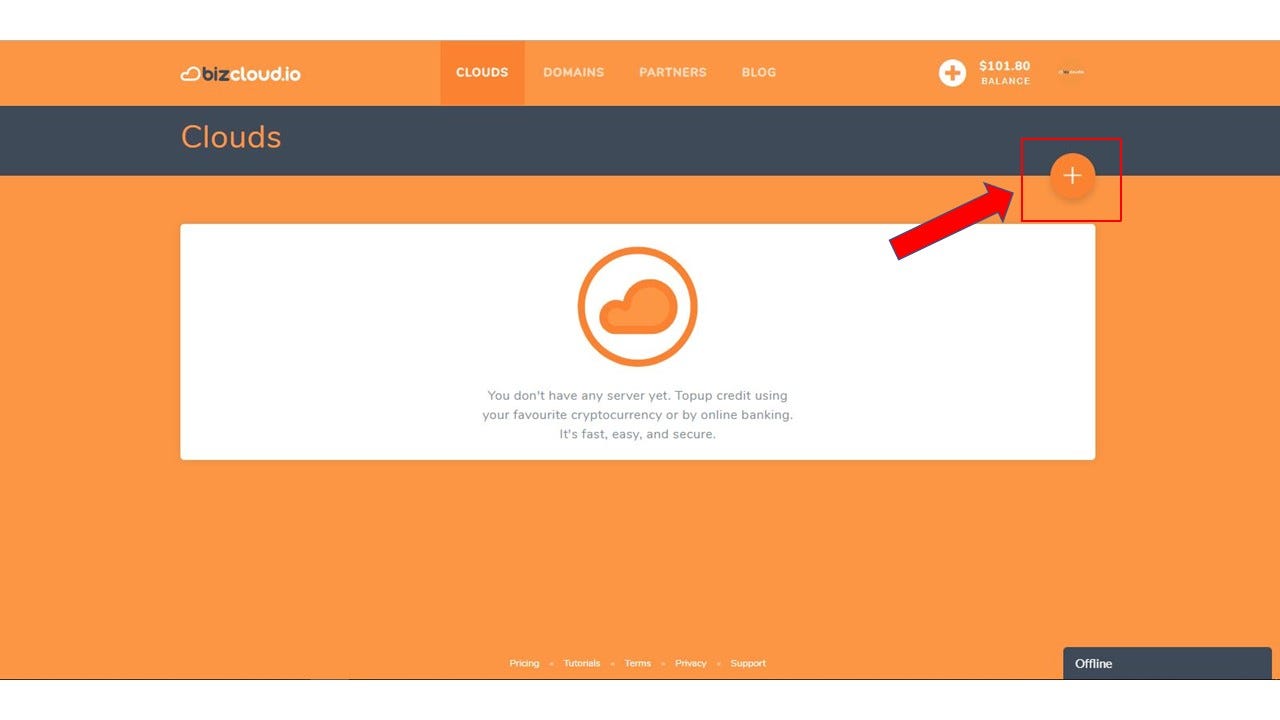
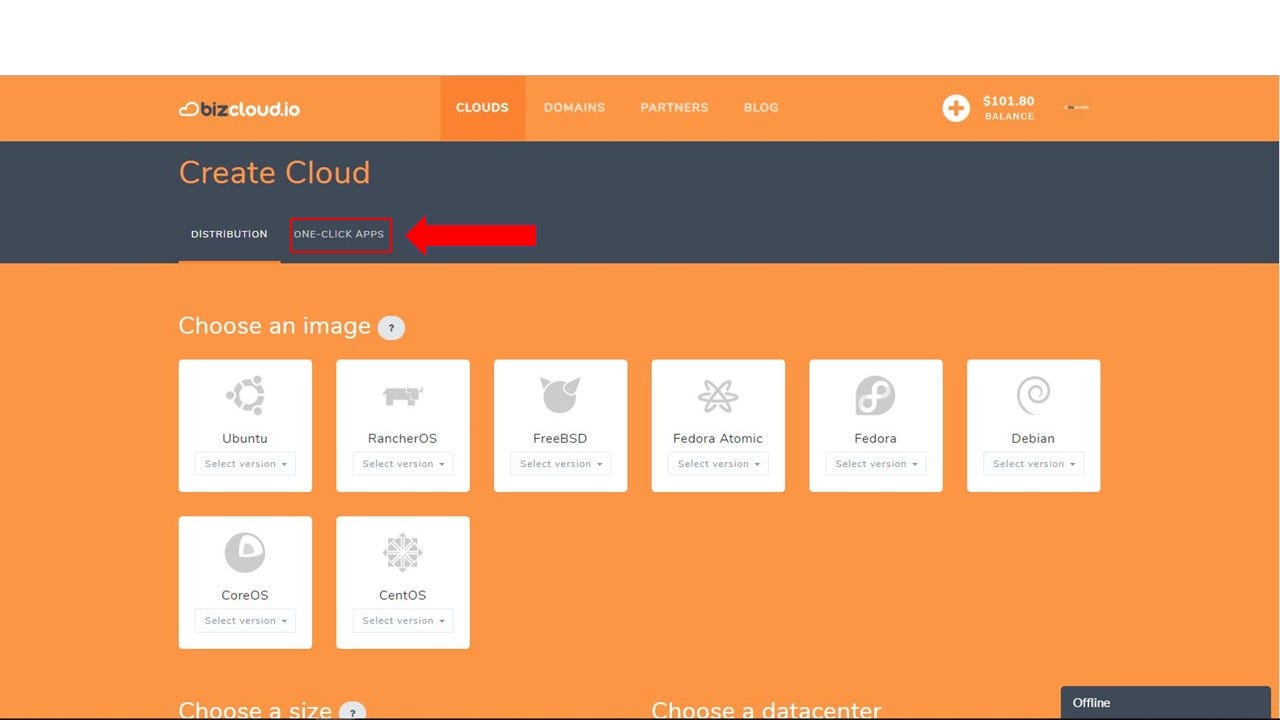
Step 2 — Create your cloud by clicking the plus sign on the right side of the website.
Step 3 — You will be directed to “Create Cloud” page. To navigate to the Bitwarden application, click on the “One-click app”.
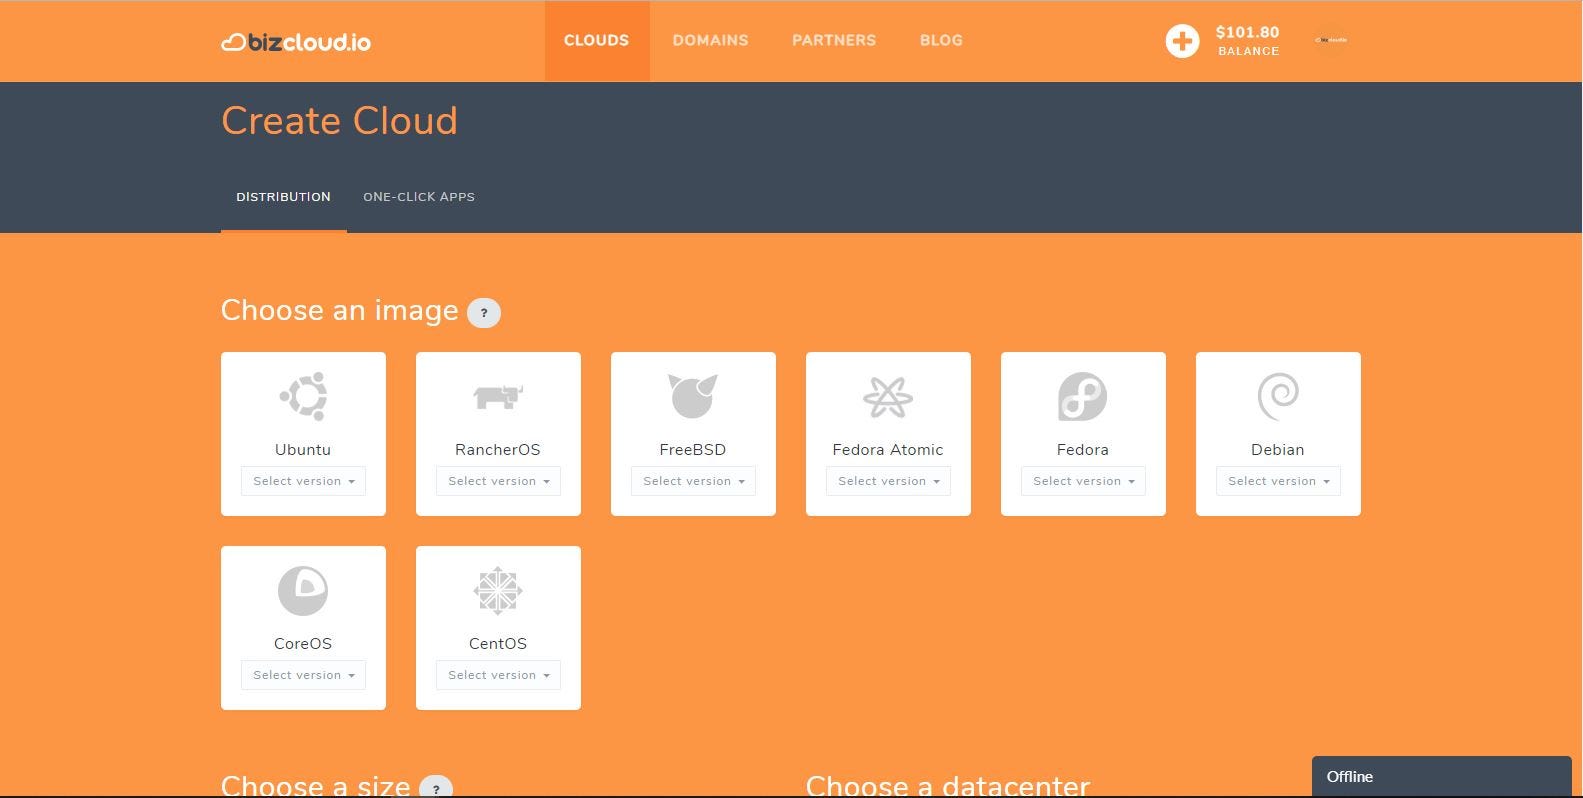
You will then be directed to the following page once you click the One-click apps.
Some of the choices of apps in BizCloud (1)
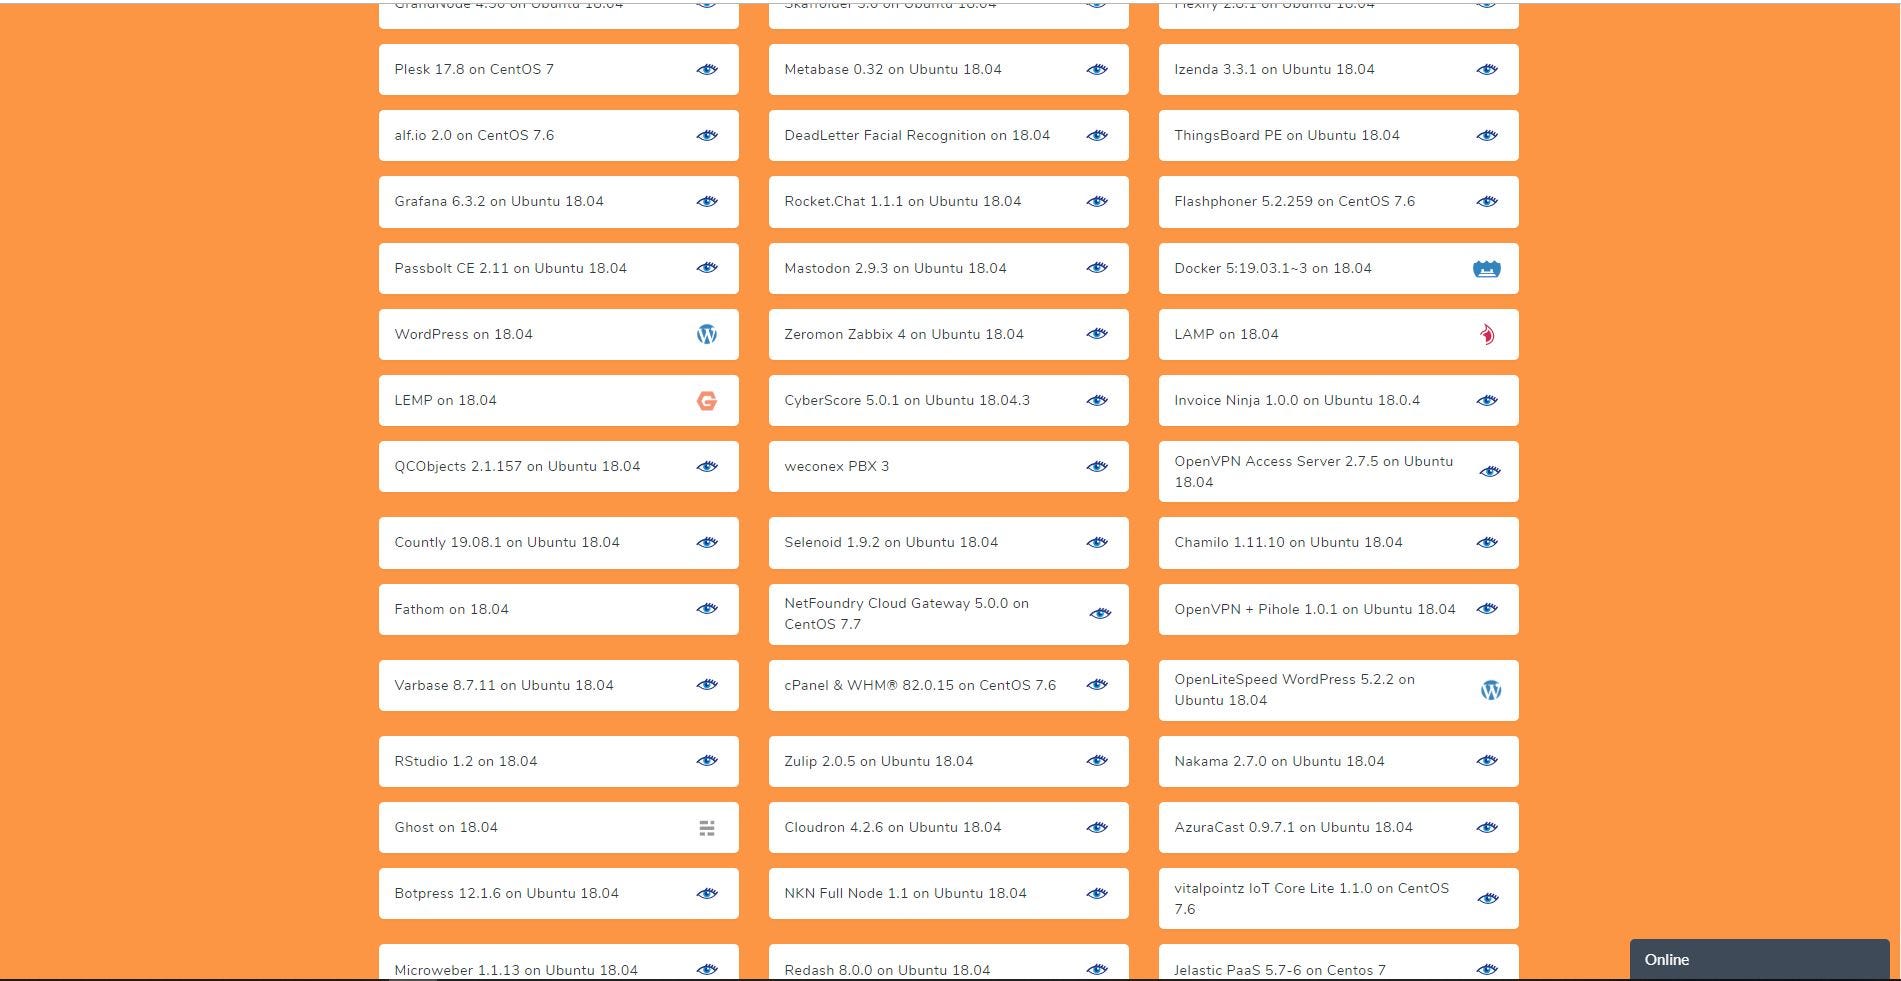
Some of the choices of apps in BizCloud (2)
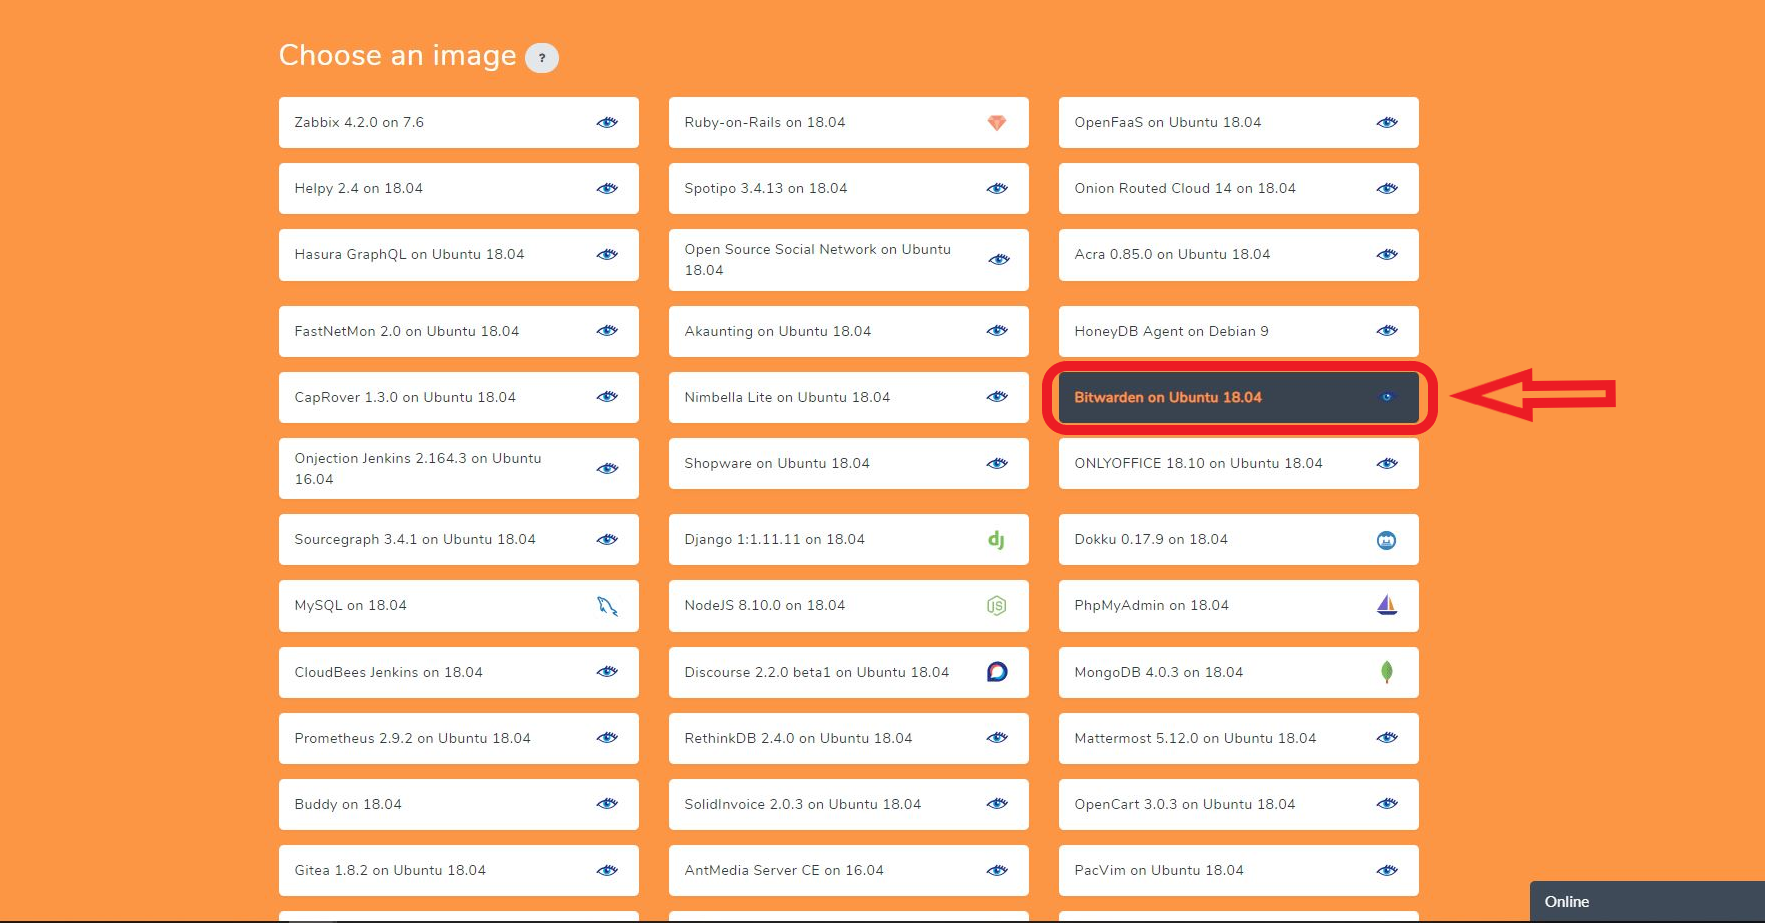
Step 4 — Choose and click Bitwarden on Ubuntu 18.0.4
Steps 5 — Complete all other process of cloud creation such as size of cloud, datacenter location, SSH public key, cloud hostname and then finally click create cloud.
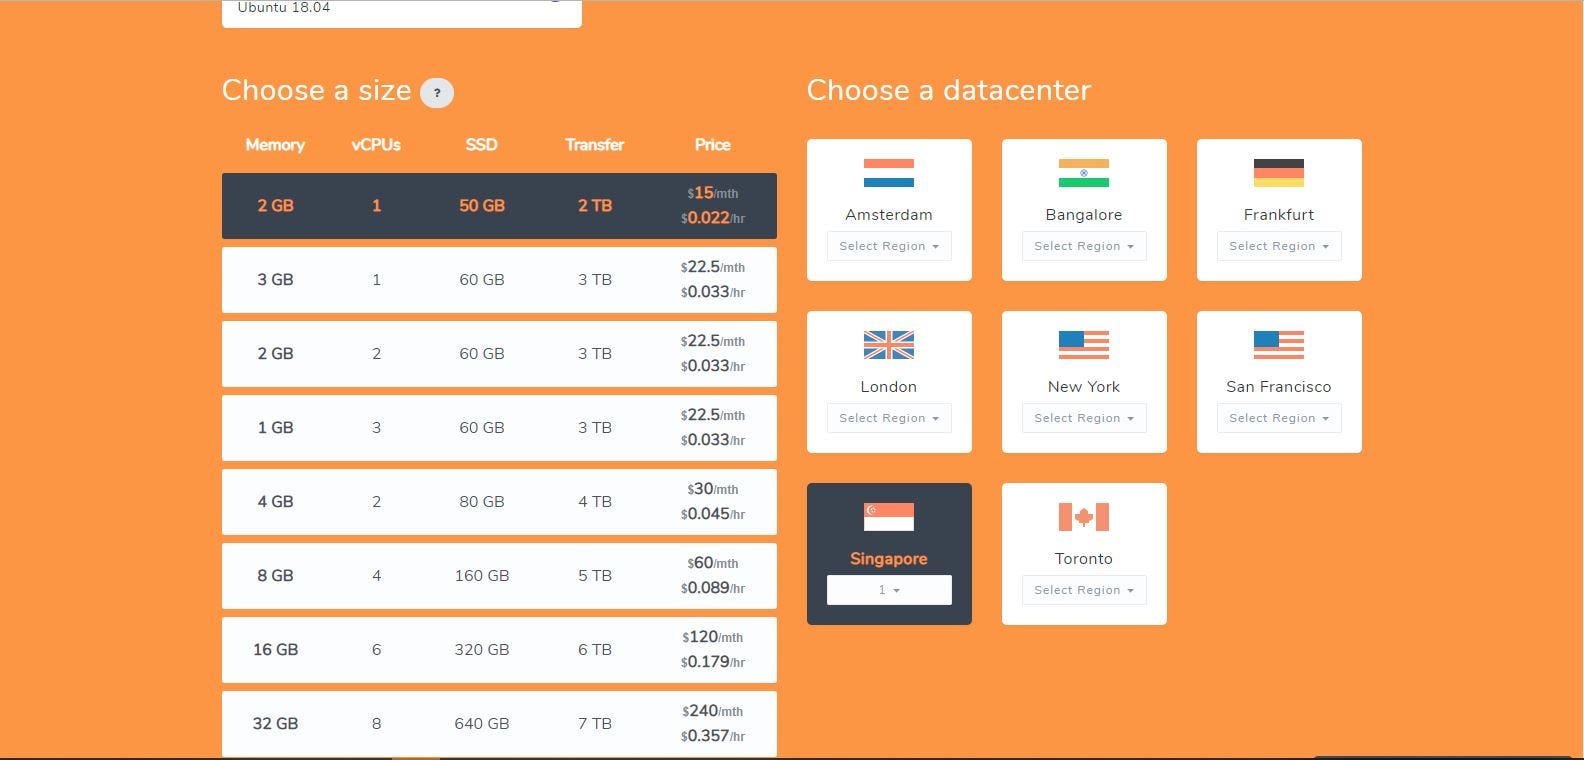
Choosing size and datacenter location
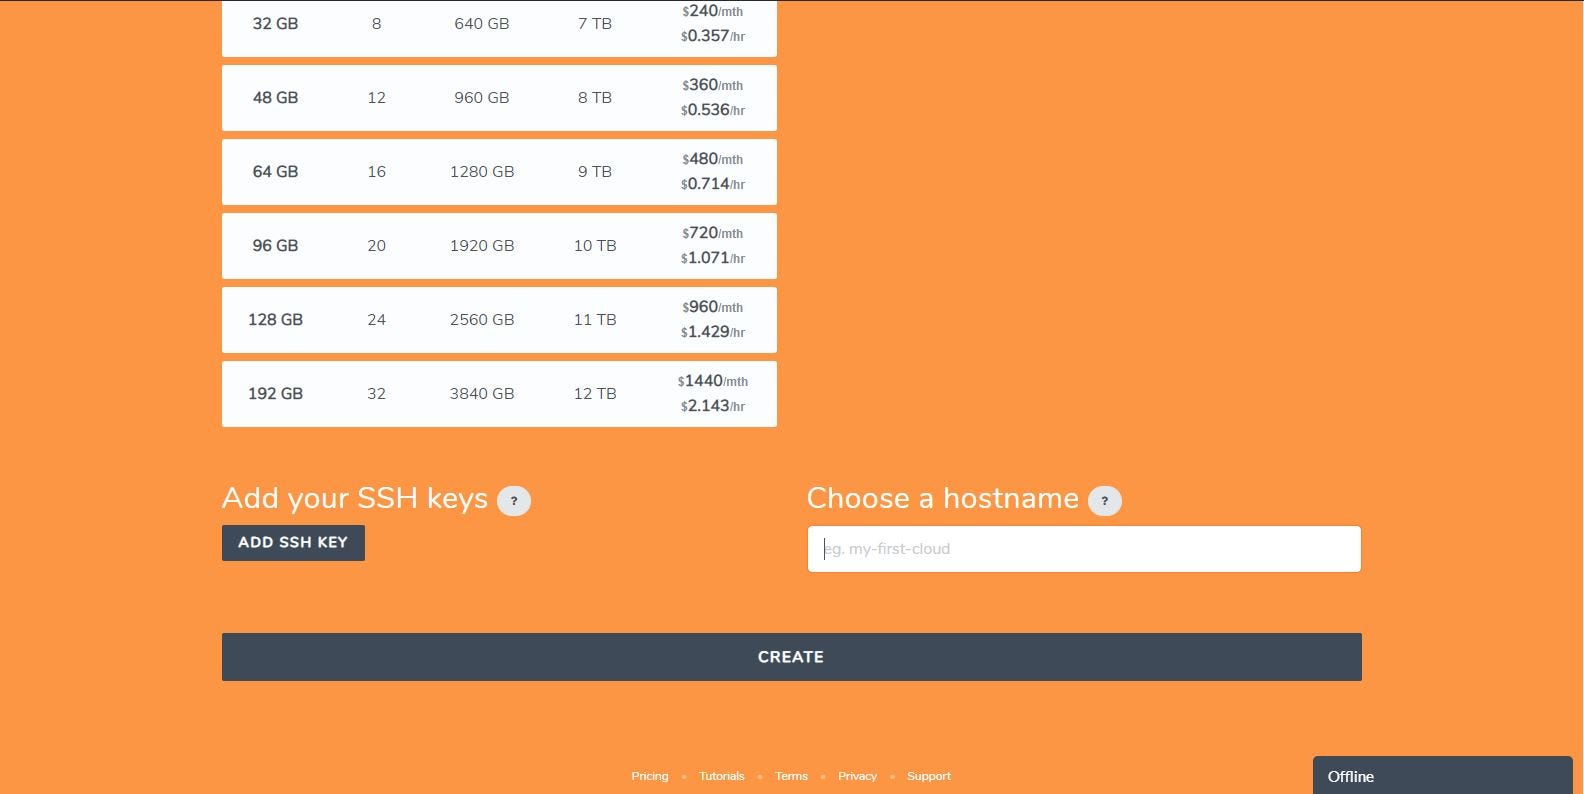
Adding your SSH key and give a hostname for your application cloud

Click create and wait until your cloud creation is complete
Step 6 — Once your cloud is completed, login using your SSH application using the IP address given in the cloud details.
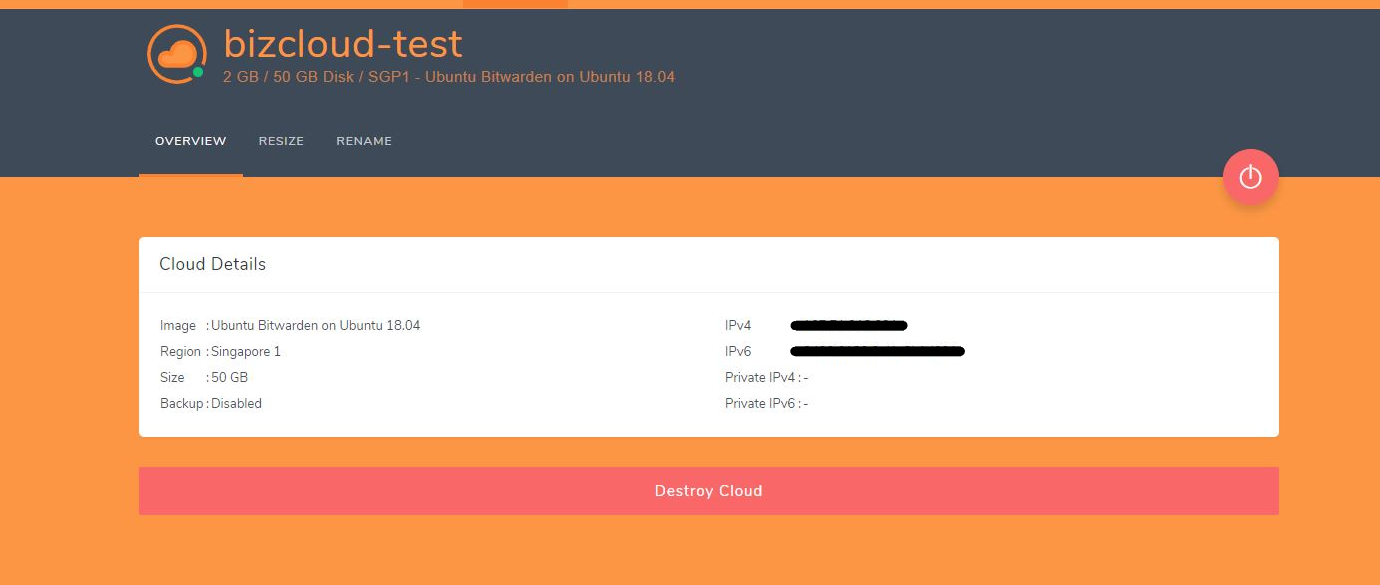
Login into the cloud by using the provided IP address and your SSH application
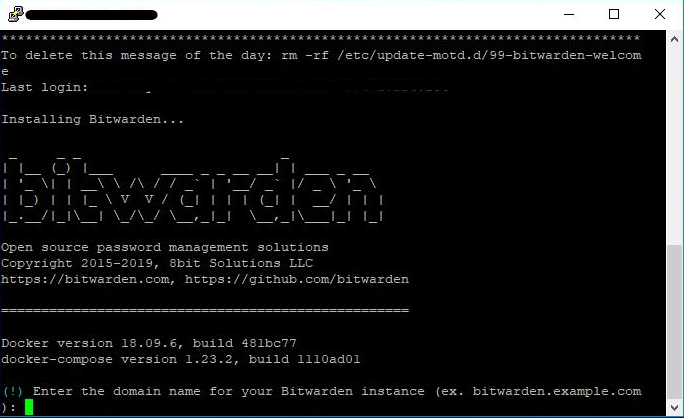
Once your login is verified, you will be prompted with setup instructions
Step 7 — Continue setting up your Bitwarden application.

For your installation id and key, make sure you generate the installation id and key from https://bitwarden.com/host/
Step 8 — Once all the requirement is completed, installation of Bitwarden on your cloud will proceed. Wait until the installation is complete.
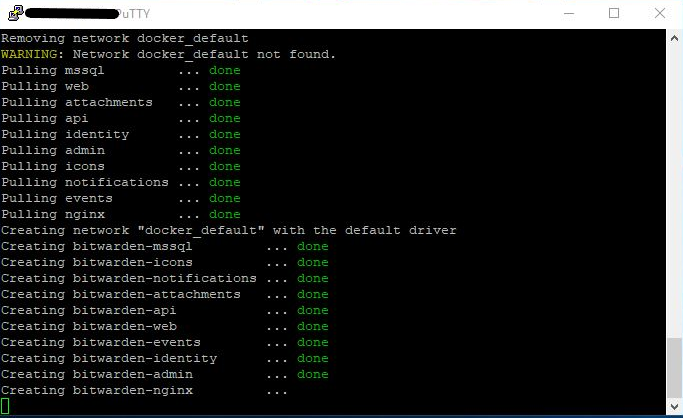
Installation in progress. This will take few minutes.
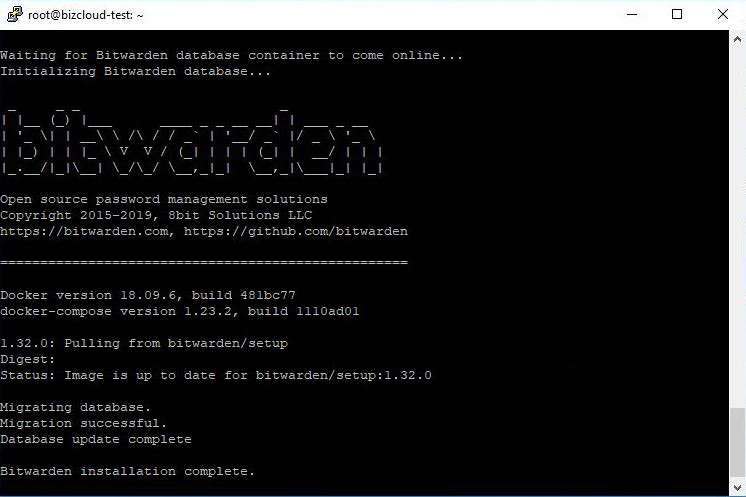
Bitwarden installation is complete.
Step 9 — Now, you can access your Bitwarden by using your web browser. Input your domain name which you install the Bitwarden application or input your IP address on the address bar of your web browser.

Your Bitwarden installation is now complete, and you can access it by using your web browser
Step 10 — For further configuration after installation, you can refer to the following website https://help.bitwarden.com/
And there you have it. Your own self-hosted password management application.
 Admin Istrator on Nov 19, 2019