In previous post, we created WordPress paid by using Bitcoin or other cryptocurrencies such as Litecoin, Ethereum, Ripple and Bitcoin Cash. In this post, we are going to show how you can create Bitcoin full node by using BizCloud. Make sure you refer to our previous post How to Pay Digital Ocean with Bitcoin on how to create account and top up your credit using Bitcoin and other cryptocurrencies. Once you have sufficient credit, we can start to install and run Bitcoin full node from BizCloud.io.
What is Bitcoin Full Node?
Before we go further, we must know what is a Bitcoin full node. Basically, a Bitcoin Full Node is a server which stores all the transaction data of Bitcoin. The nodes function to relay transaction information from users to miners and also to store the Bitcoin blockchain. Nodes synchronize with each other and even if a node is offline for some time, it will download the latest data from other nodes once it gains access to the internet. Also, the nodes check every transaction and hash generated by miners to see if transaction data corresponds to hash generated by miners. The nodes also confirm that all data complies with the Bitcoin protocol. Any tempering done will be rejected by the Bitcoin Full node. Currently there are thousands of Bitcoin node available worldwide, making Bitcoin very secure.
To run a Bitcoin full node, anyone with a storage device with sufficient space connected to the internet can run a node. Now let’s start making your Bitcoin full node using BizCloud.
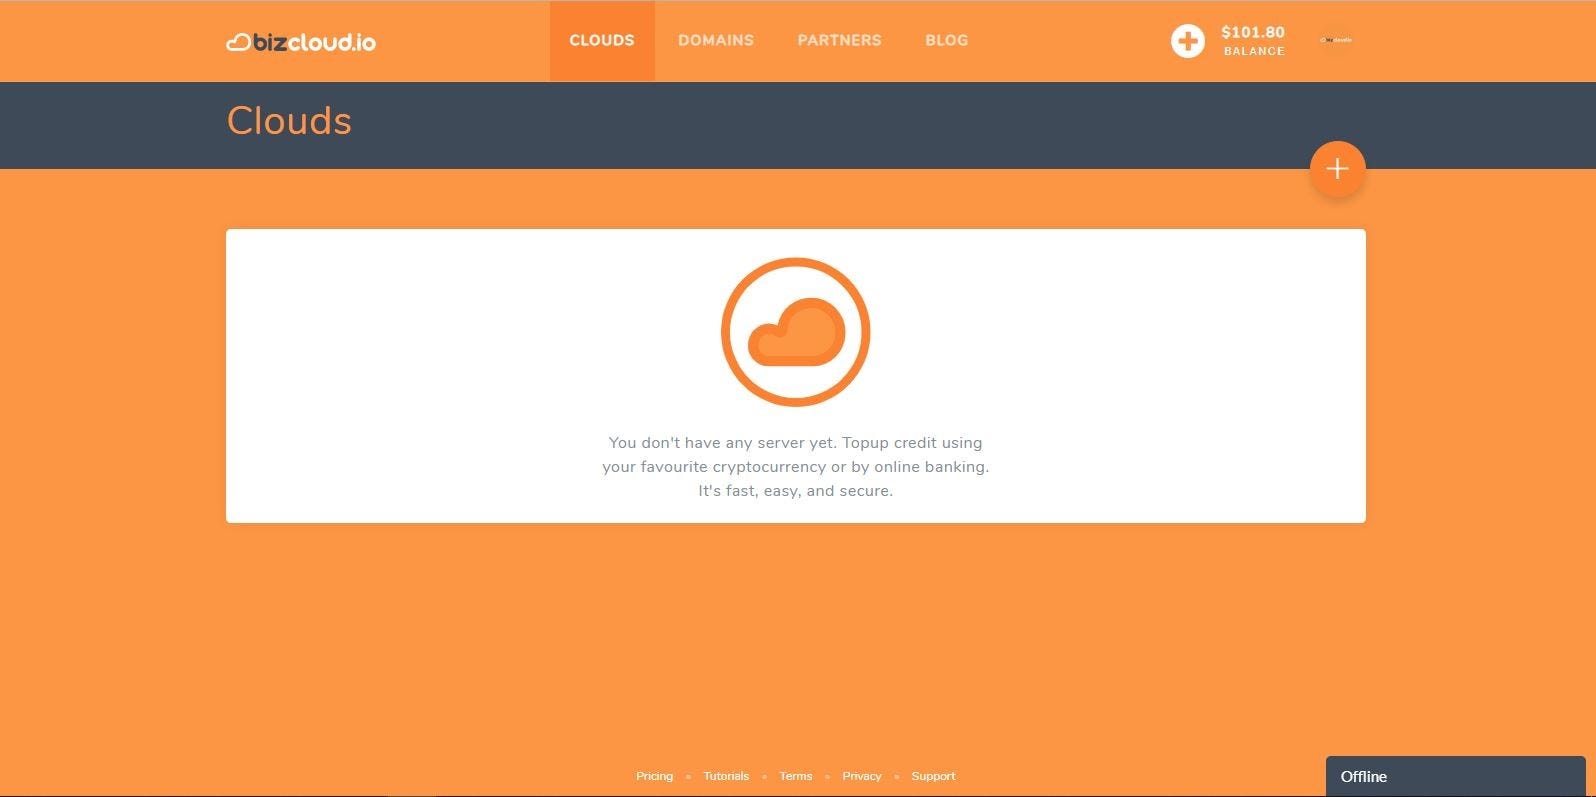
Step 1 — Login to your BizCloud.io account and go to your dashboard. You will be directed to Clouds page in your dashboard.
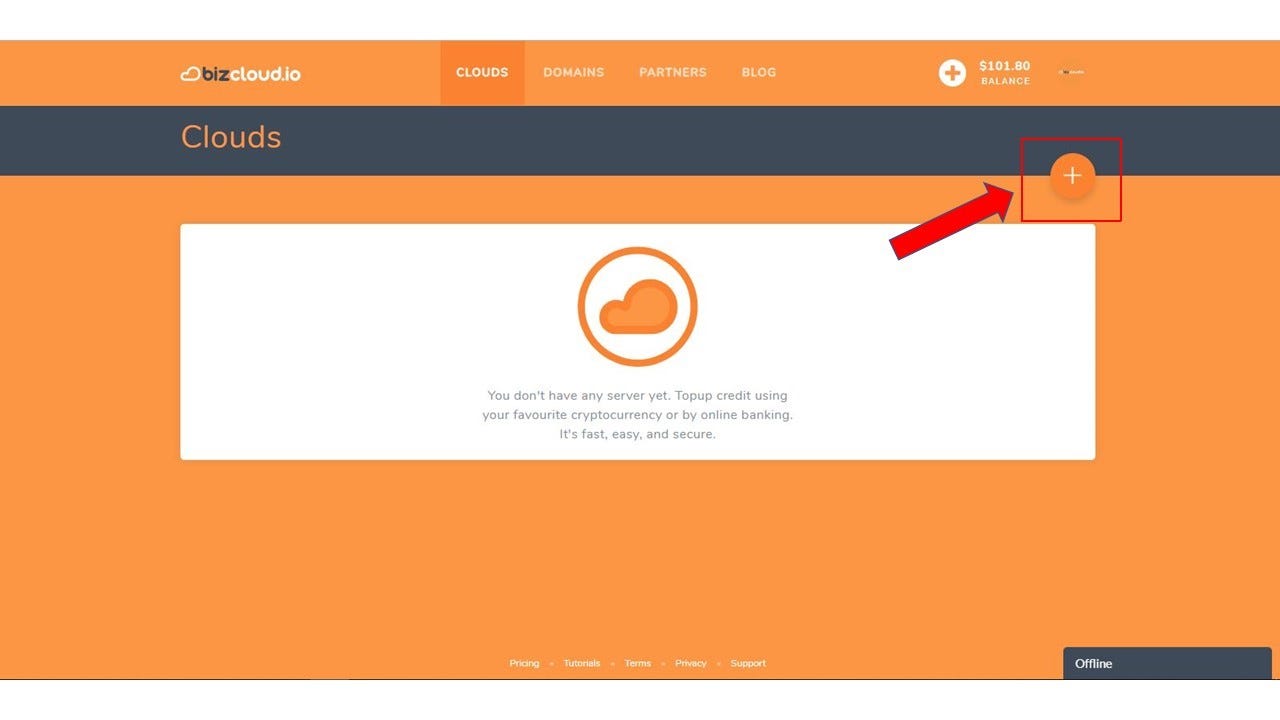
Step 2 — Click on the plus sign on the dashboard.
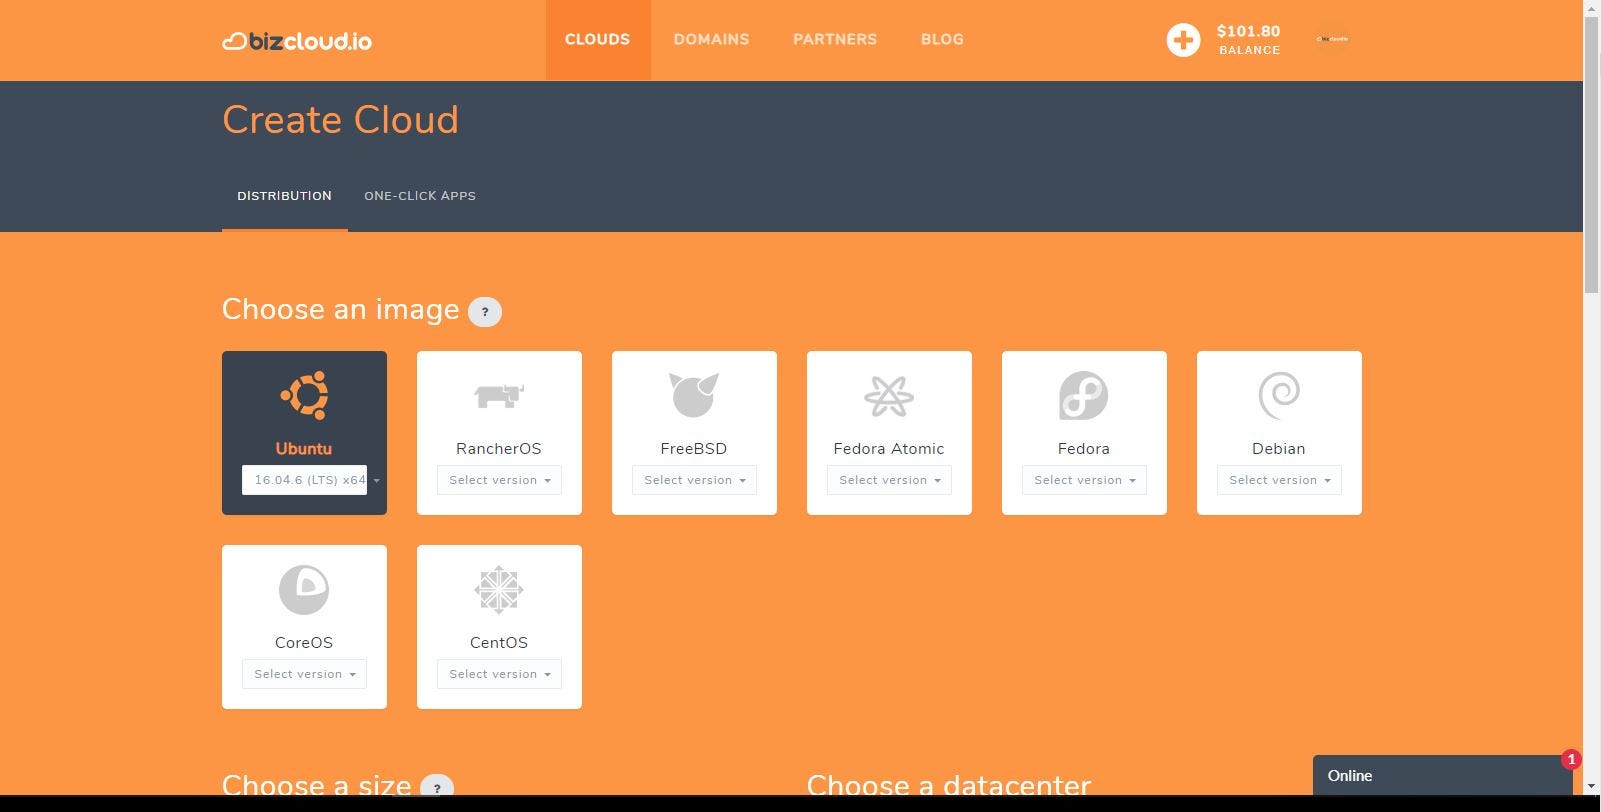
Step 3 — You will be directed to Create Cloud Page.
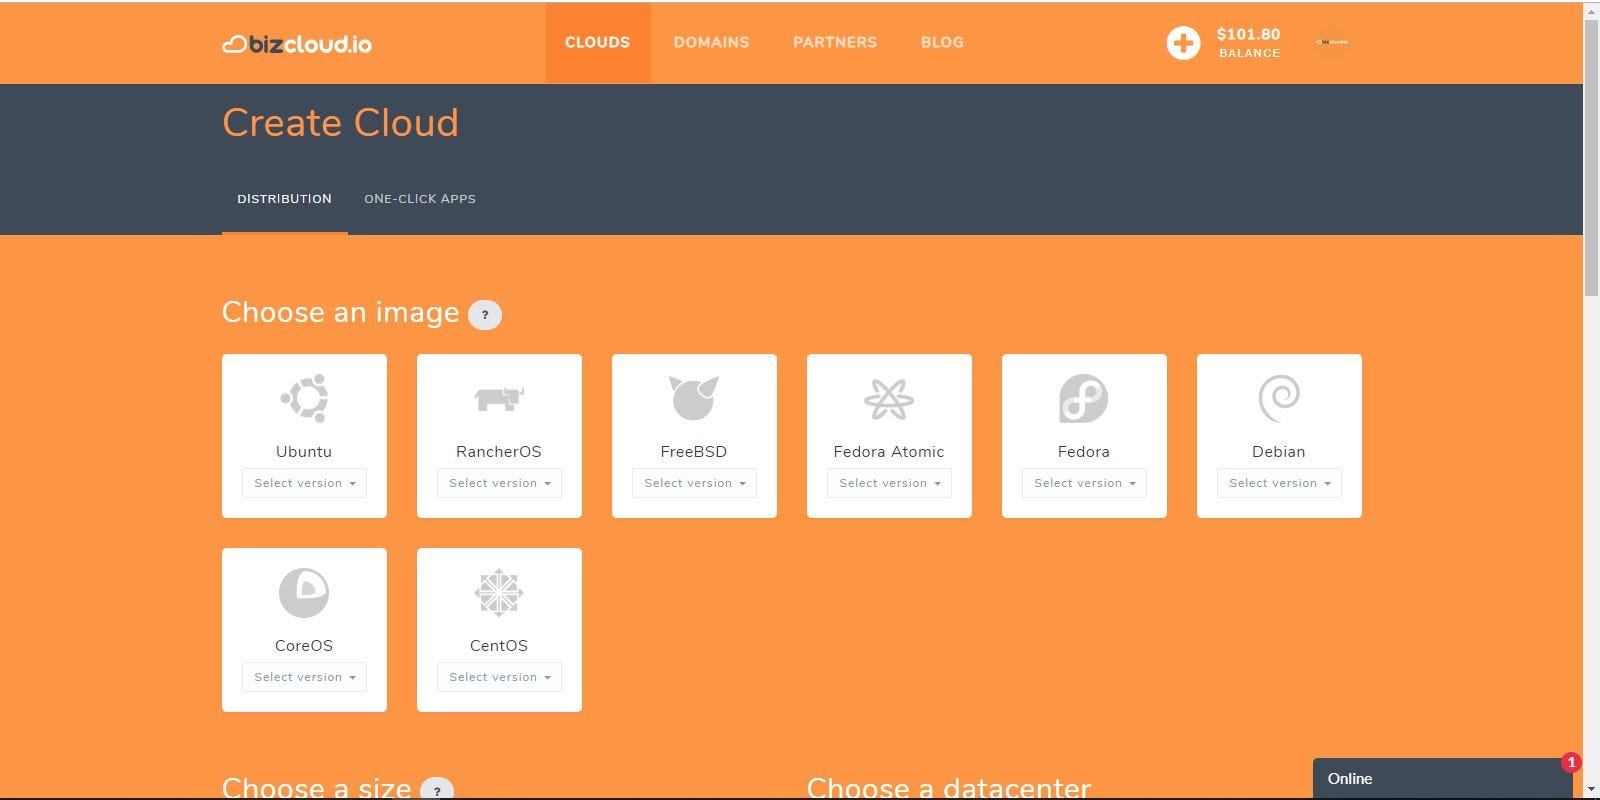
Step 4 — In under the “Choose and image”, choose Ubuntu 16.04.6 (LTS) x64
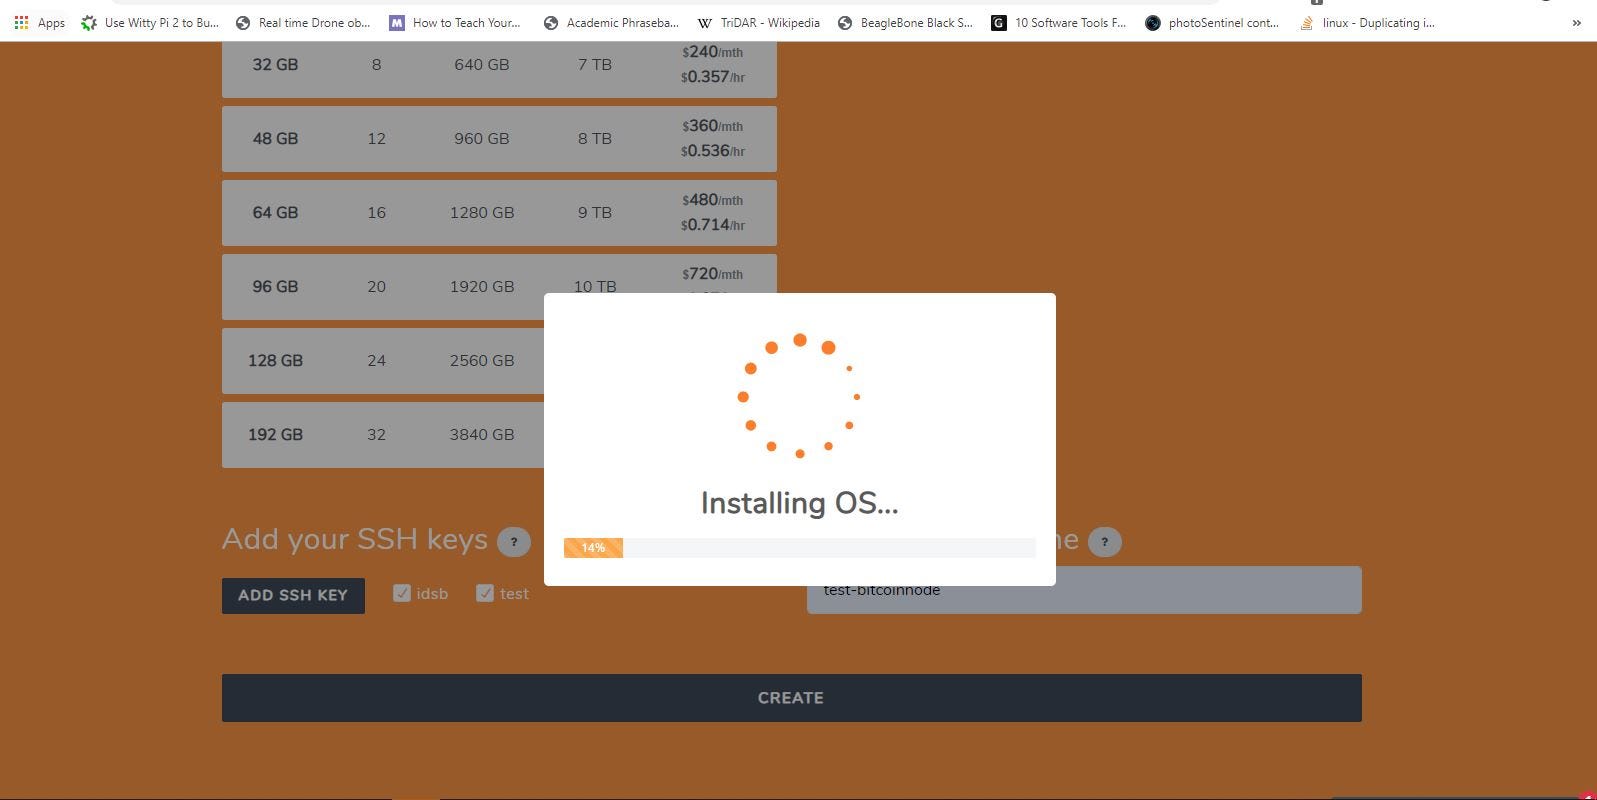
Step 5 — Under the heading of “Choose a size”, you must choose any cloud that has SSD greater than 200 GB, as that is the current size of the Bitcoin blockchain. We will be choosing cloud with 16 GB Memory, 6 vCPUs, 320 GB SSD storage and 6TB Transfer.
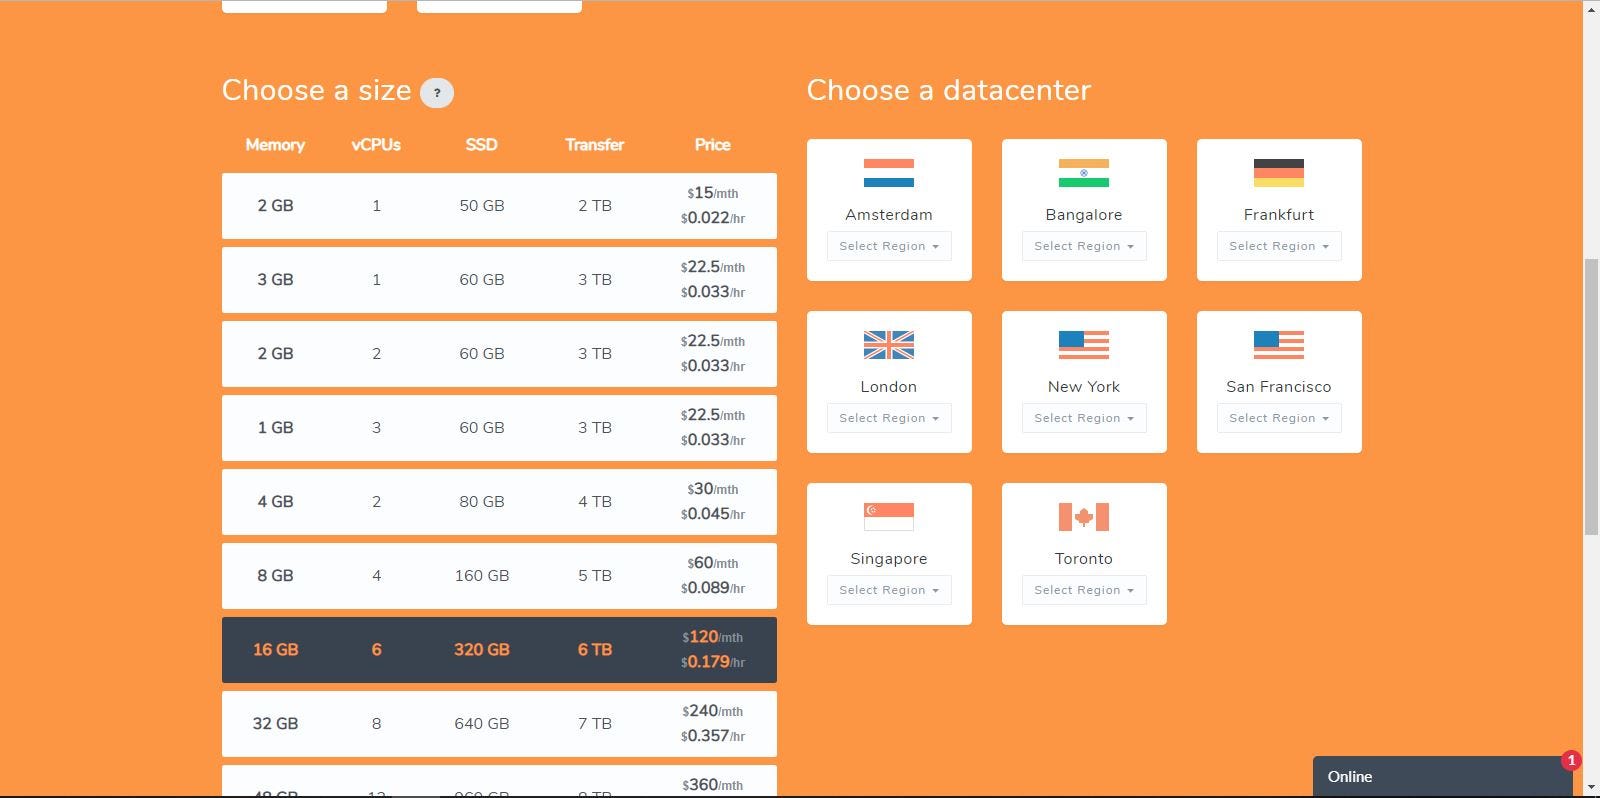
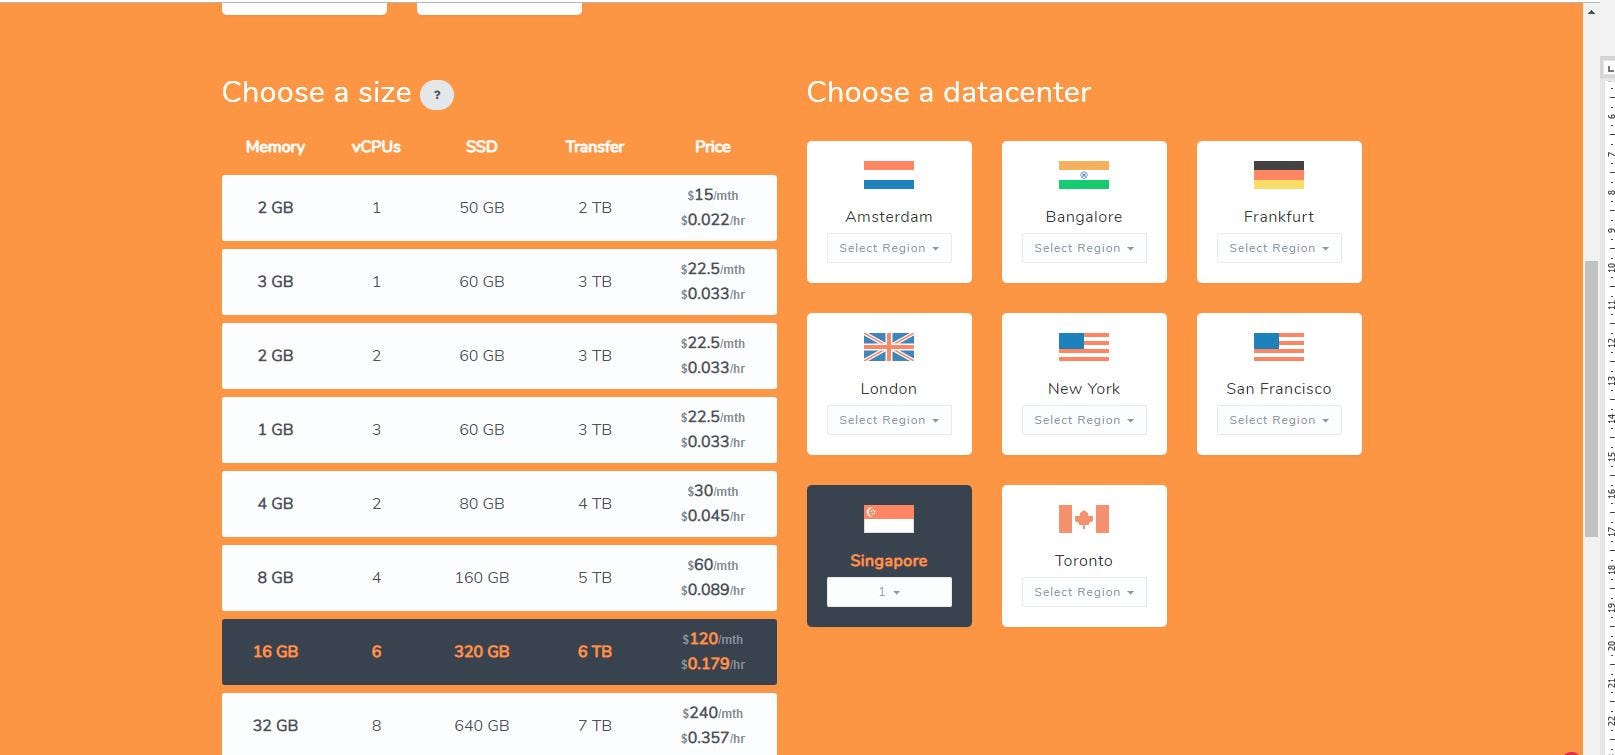
Step 6 – Under the heading of “Choose a datacenter” choose the location which is nearest to you reduce latency.
Step 7 — Choose you SSH key if you have them available or you can refer previous post on how to add your SSH key. Then give name for your cloud under the heading of “Choose your hostname”
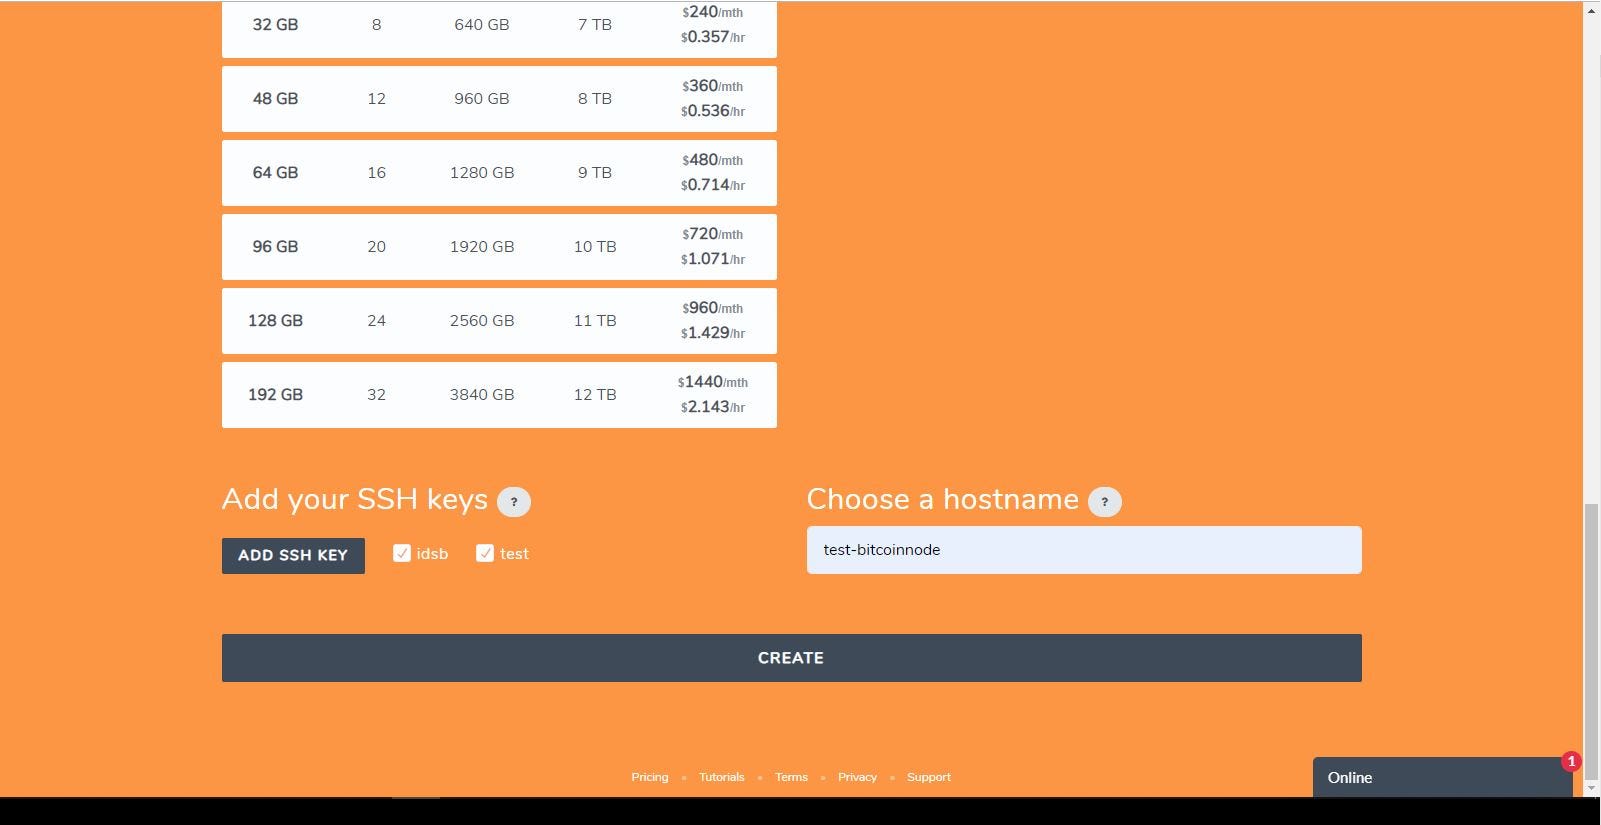
Step 8 — Click Create and wait until the cloud creation is completed.
Step 9 — You will be directed to your BizCloud Clouds page.
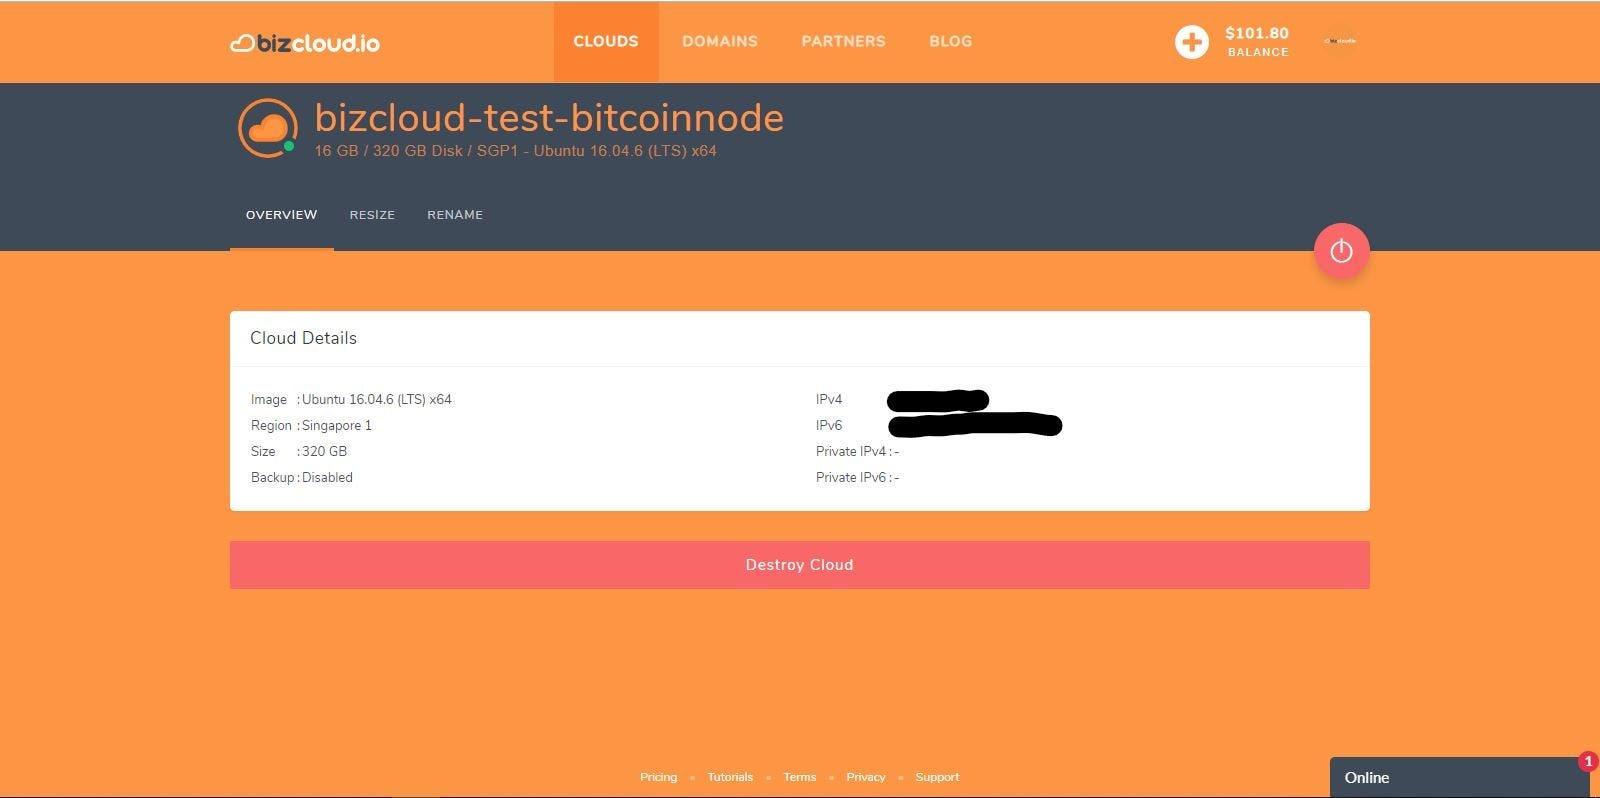
From here onward, you can connect to your cloud using the IPv4/IPv6 address. There are few options to connect to the server, either by using Putty in Windows, or using SSH applications in Linux or MacOs. Once you are connected to the server, follow these steps to start creating your Bitcoin full node.
Step 10 – Create user with a sudo access. We created a user with name bitcoin, and then give it sudo access:
adduser bitcoin
usermod -aG sudo bitcoin
When executing the adduser command you’ll be asked to supply a new password.
Step 11 – Now we need to add public SSH key to the bitcoin user’s authorized_key file, so that we can SSH into the cloud using bitcoin user instead of root user.
su – bitcoin
mkdir ~/.ssh
chmod 700 ~/.ssh
nano ~/.ssh/authorized_keys
Now paste your public SSH key into the files, save and quit the nano editor. In this example we are using nano editor, you can used any editor that are available to you. Then you need to apply correct permission of the authorized_keys file.
chmod 600 ~/.ssh/authorized_keysNow log out of the cloud by issuing exit commands twice.
Step 12 – Now you can try to login into your cloud by using bitcoin user. Once you login using bitcoin user, its time to install the Bitcoin Core. Issue the following command using your terminal.
sudo apt-add-repository ppa:bitcoin/bitcoin
sudo apt-get update
sudo apt-get install bitcoind
Type Y for Yes when prompted. After finish installing, you can test by issuing the following command:
bitcoind --versionThis command will display your version of Bitcoin Core software.
Step 13— Now is time to configure Bitcoin Core. This is done before we start running the bitcoind and doing initial synchronization with the network.
cd ~/
mkdir .bitcoin
cd .bitcoin
nano bitcoin.conf
Inside the bitcoin.conf, paste the following:
server=1
txindex=1
daemon=1
maxconnections=10
rpcuser=bitcoin
rpcpassword=enterpaswordhere
disablewallet=1
dbcache=14000
Make sure to replace the “enterpasswordhere” with your own strong password.
For further reference in configuring the Bitcoin node, you can go to the page http://manpages.ubuntu.com/manpages/precise/man5/bitcoin.conf.5.html
Step 14 — Once the configuration is finished, create the bitcoin.service file.
sudo nano /etc/systemd/system/bitcoind.service
Then, paste inside the file with the following content:
[Unit]
Description=Bitcoin daemon
After=network.target
[Service]
User=USERNAME
Group=USERNAME
Type=forking
PIDFile=/home/USERNAME/.bitcoin/bitcoind.pid
ExecStart=/usr/bin/bitcoind -conf=/home/USERNAME/.bitcoin/bitcoin.conf -pid=/home/USERNAME/.bitcoin/bitcoind.pid
KillMode=process
Restart=always
TimeoutSec=120
RestartSec=30
[Install]
WantedBy=multi-user.target
Step 15 — Run the Bitcoin Core to start the initial synchronization
bitcoind -daemonThe initial synchronization of Bitcoin blockchain data could take up time from 8 hours to few days depending on your setting and configuration, so please be patient.
Step 16 — If you want to run the Bitcoin Core as systemd, you can enable the systemd with following commands:
sudo systemctl enable bitcoind
sudo systemctl start bitcoind
The systemd will restart the service in case of your server crashed. This will make your Bitcoin Core management easier. To check whether Bitcoin Core is working properly, issue this command:
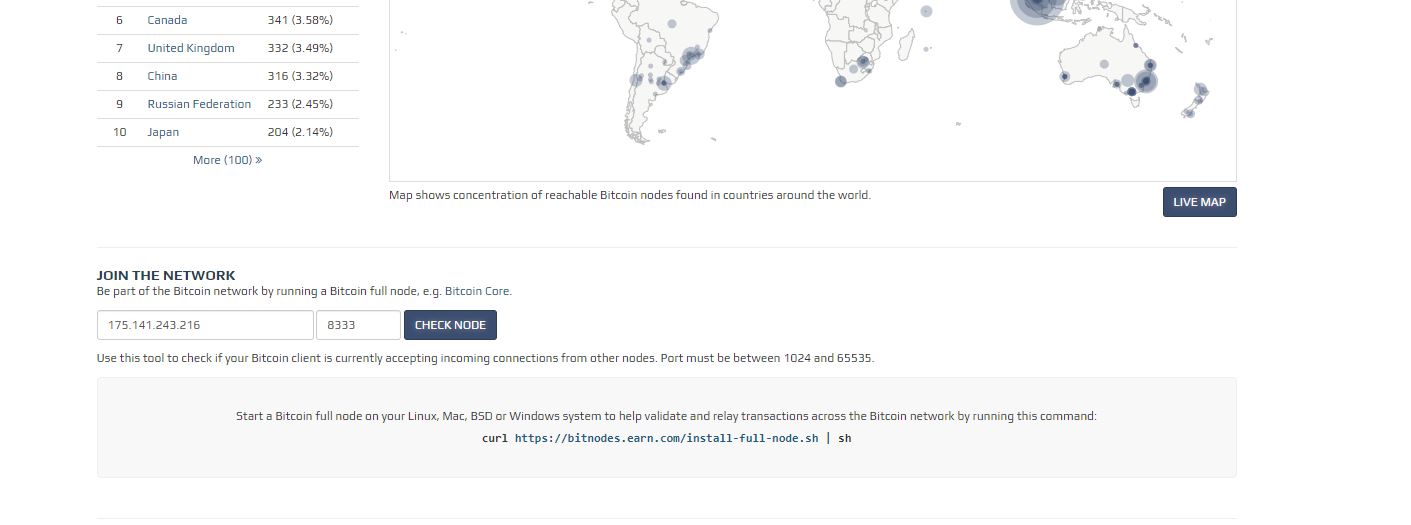
sudo systemctl status bitcoindYou can check whether your node is connected to the Bitcoin full node using the following website: https://bitnodes.earn.com/
Just put in your IP address, and port number in the “Join The Network” section. Then click “check node”. You will be notified whether your node is joining the Bitcoin full node or not.
And now our setup of Bitcoin full node is complete. Your cloud will now play an important role in securing the Bitcoin blockchain.
Pay VPS using Bitcoin and Altcoin
 Admin Istrator on Nov 5, 2019